When talking about website customization, child themes sound perfect. They allow you to make changes to your site’s appearance and functionality without altering the core files of your parent theme.
However, while working with child themes can be straightforward, there are expert tips and best practices that you shouldn’t ignore. Whether you’re a beginner or an expert developer, understanding child themes will help you maintain a robust and flexible WordPress site.
Here, we’re going to discuss the concept of WordPress child themes and provide you with six expert tips that you absolutely cannot neglect. So, grab a cup of coffee, get comfortable, and let’s explore how child themes can enhance your WordPress experience.
What Are Child Themes and Why Use Them?
A child theme is a theme that inherits the characters, functionality, features, appearance, and styling of the parent theme (All themes unless they have a sub-theme, which we call a child theme). This is a wonderful concept in WordPress development because it gives you the power to make customizations without directly altering the files of the main theme.
The Importance of Child Themes in WordPress Development
One of the key importance of child themes is that they create a safer environment for alteration. When you update the parent theme, your customizations in the child theme remain as they are.
Which says you can modify your website without losing your custom code. If your modifications cause any conflict, you can just disable the child theme and quickly change it back to the parent theme. This makes experimentation less tiresome.
You can also customize everything separately without interrupting the parent theme or using the child theme. It makes it easy to switch themes when needed without letting you start everything from scratch.
Another key reason why developers love child themes is that they foster good practices. You do not need to edit the parent theme’s core files; rather, you can extend its features while keeping the code clean.
Tip 1: Properly Set Up Your Child Theme in Staging
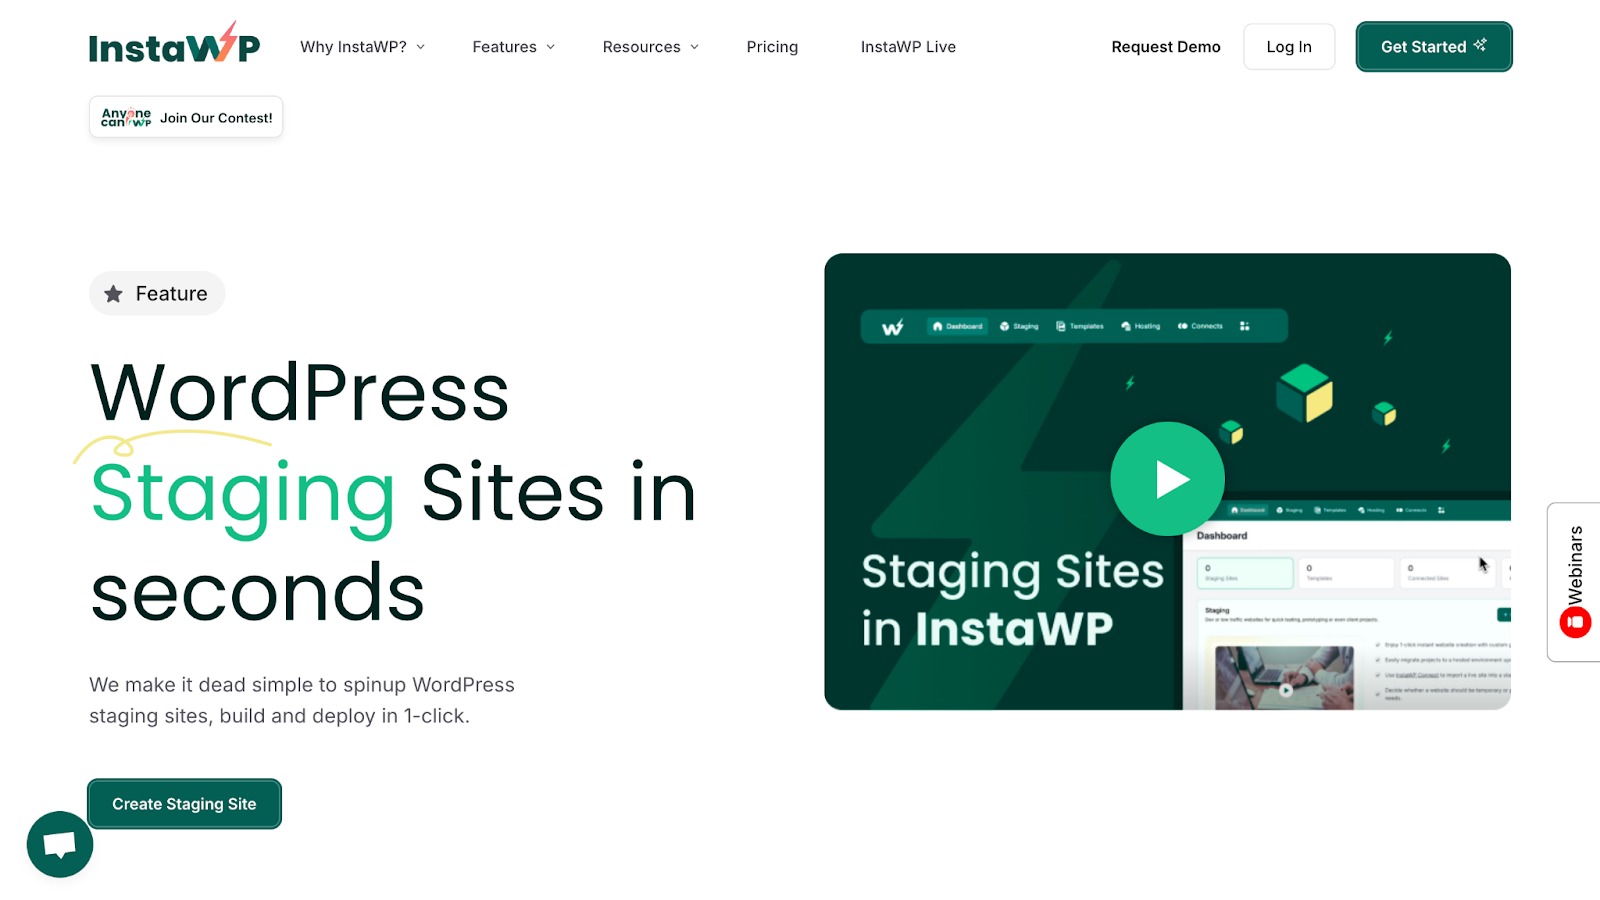
A staging site is a replica of your live website where you can safely try out changes without affecting your site visitors. Tools like InstaWP make creating a staging site a game of seconds.
Why use a Staging Environment?
Imagine how it feels when pushing custom code live only to find that it breaks your website or introduces unexpected layout changes. The risks are high, especially if you manage an eCommerce store or a high-traffic blog. Staging removes this fear. You can test all changes, ensure compatibility, and then push the alteration live only when you’re happy with the changes.
Staging sites also allow collaboration between team members, enabling multiple people to work on the site simultaneously without stepping on each other’s toes. In fact, if something goes out of hand during testing, your live site remains operational, ensuring your visitors are not affected. You can troubleshoot issues in a controlled environment, making it easier to identify and fix problems.
How to Create a Child Theme from Scratch
Creating a child theme is easier than it sounds. Here’s a simple step-by-step guide:
- Start with creating a staging site using tools like InstaWP.
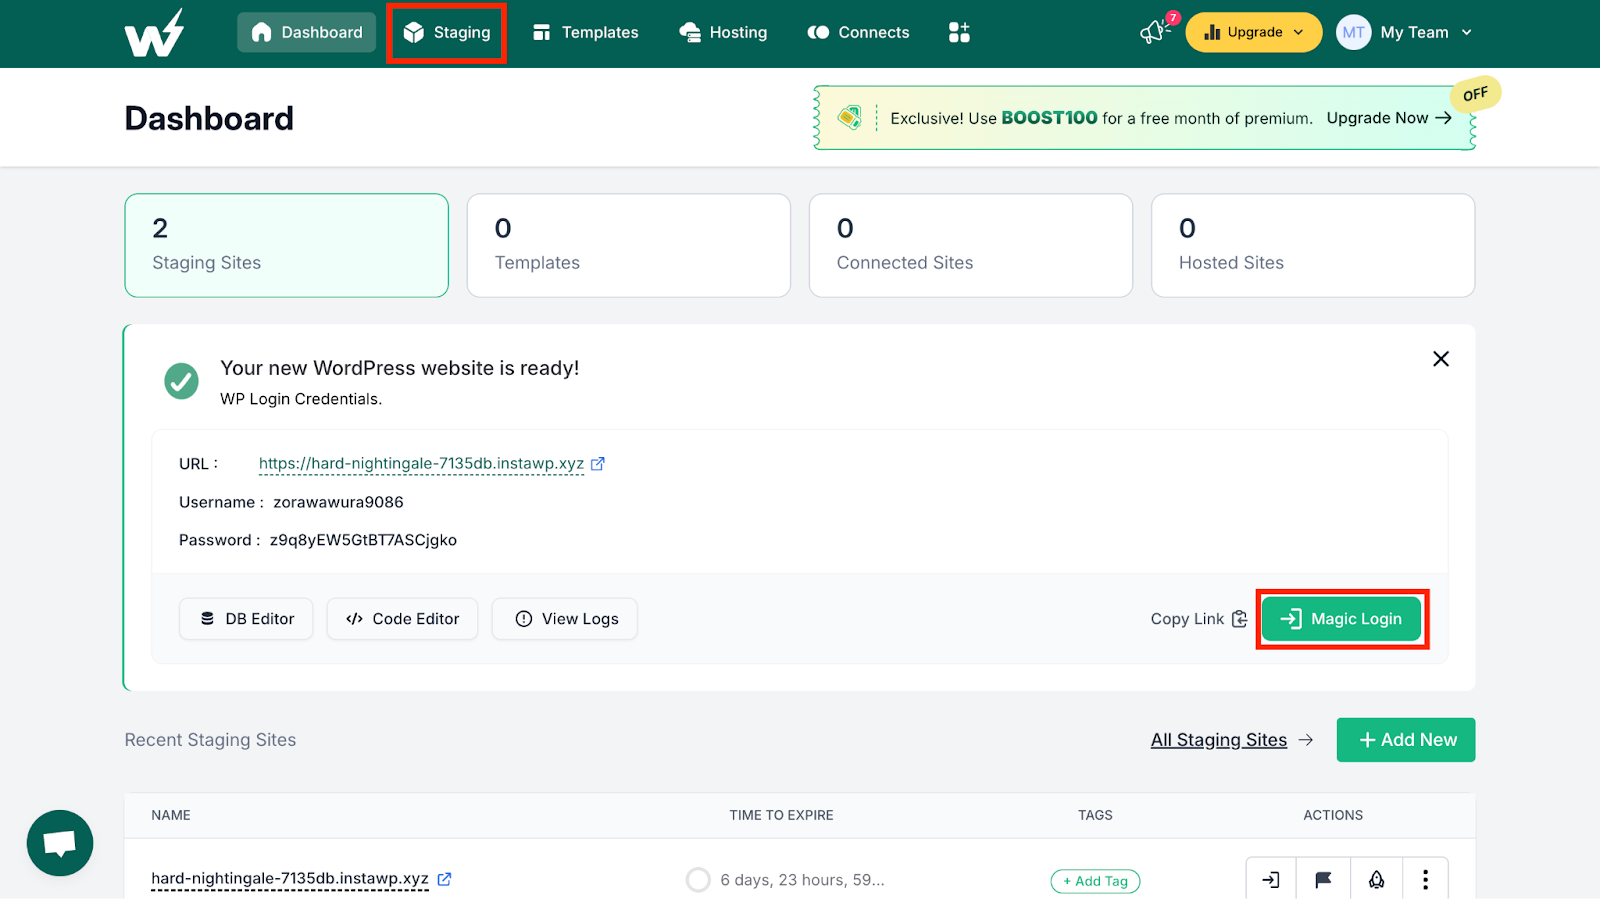
- Once your staging site is ready, you can directly log in to the WP admin panel using magic login. No need to remember your password. Now, you can do whatever experiment you want to do without affecting your live site.
There are ways to create a child theme. You can use plugins like Child Theme Configurator and Child Theme Wizard, or you can create them manually.
- To create manually, create a folder inside the /wp-content/themes/ directory.
- Create a style.css file where you’ll define your child theme’s styles. Add the following code at the top of the file:
/*
Theme Name: Your Child Theme Name
Template: parent-theme-folder-name
*/
- Create a functions.php file that will handle your theme’s functionality. To ensure the parent theme’s styles are inherited, add the following code:
<?php
function my_child_theme_enqueue_styles() {
    wp_enqueue_style('parent-style', get_template_directory_uri() . '/style.css');
}
add_action('wp_enqueue_scripts', 'my_child_theme_enqueue_styles');
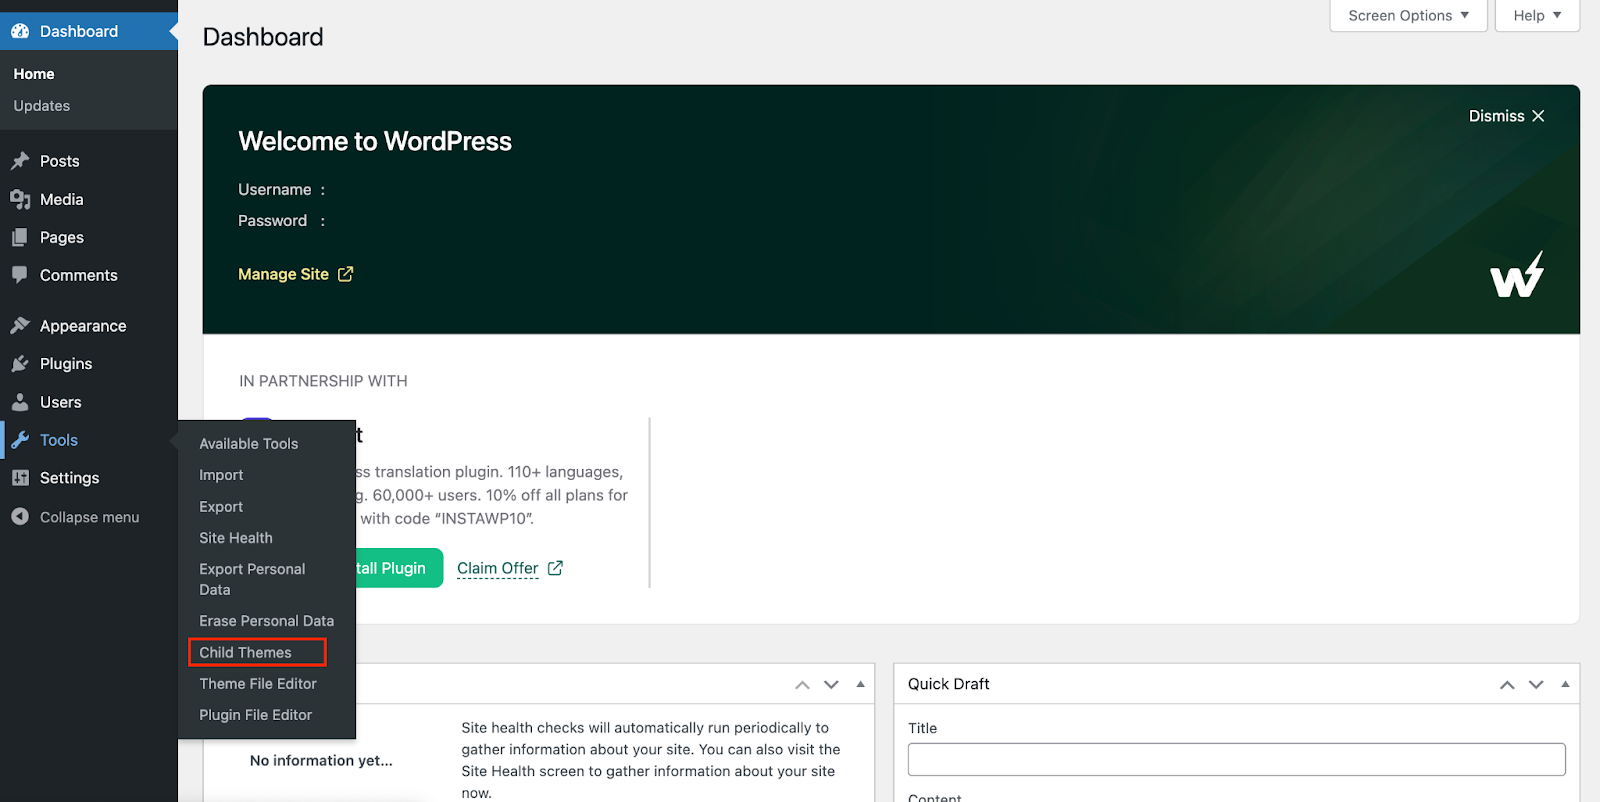
?>- Now, install and activate the child theme. The easiest way is to create and upload a ZIP file of your theme to your staging site via Appearance > Themes > Add New in your WordPress admin.
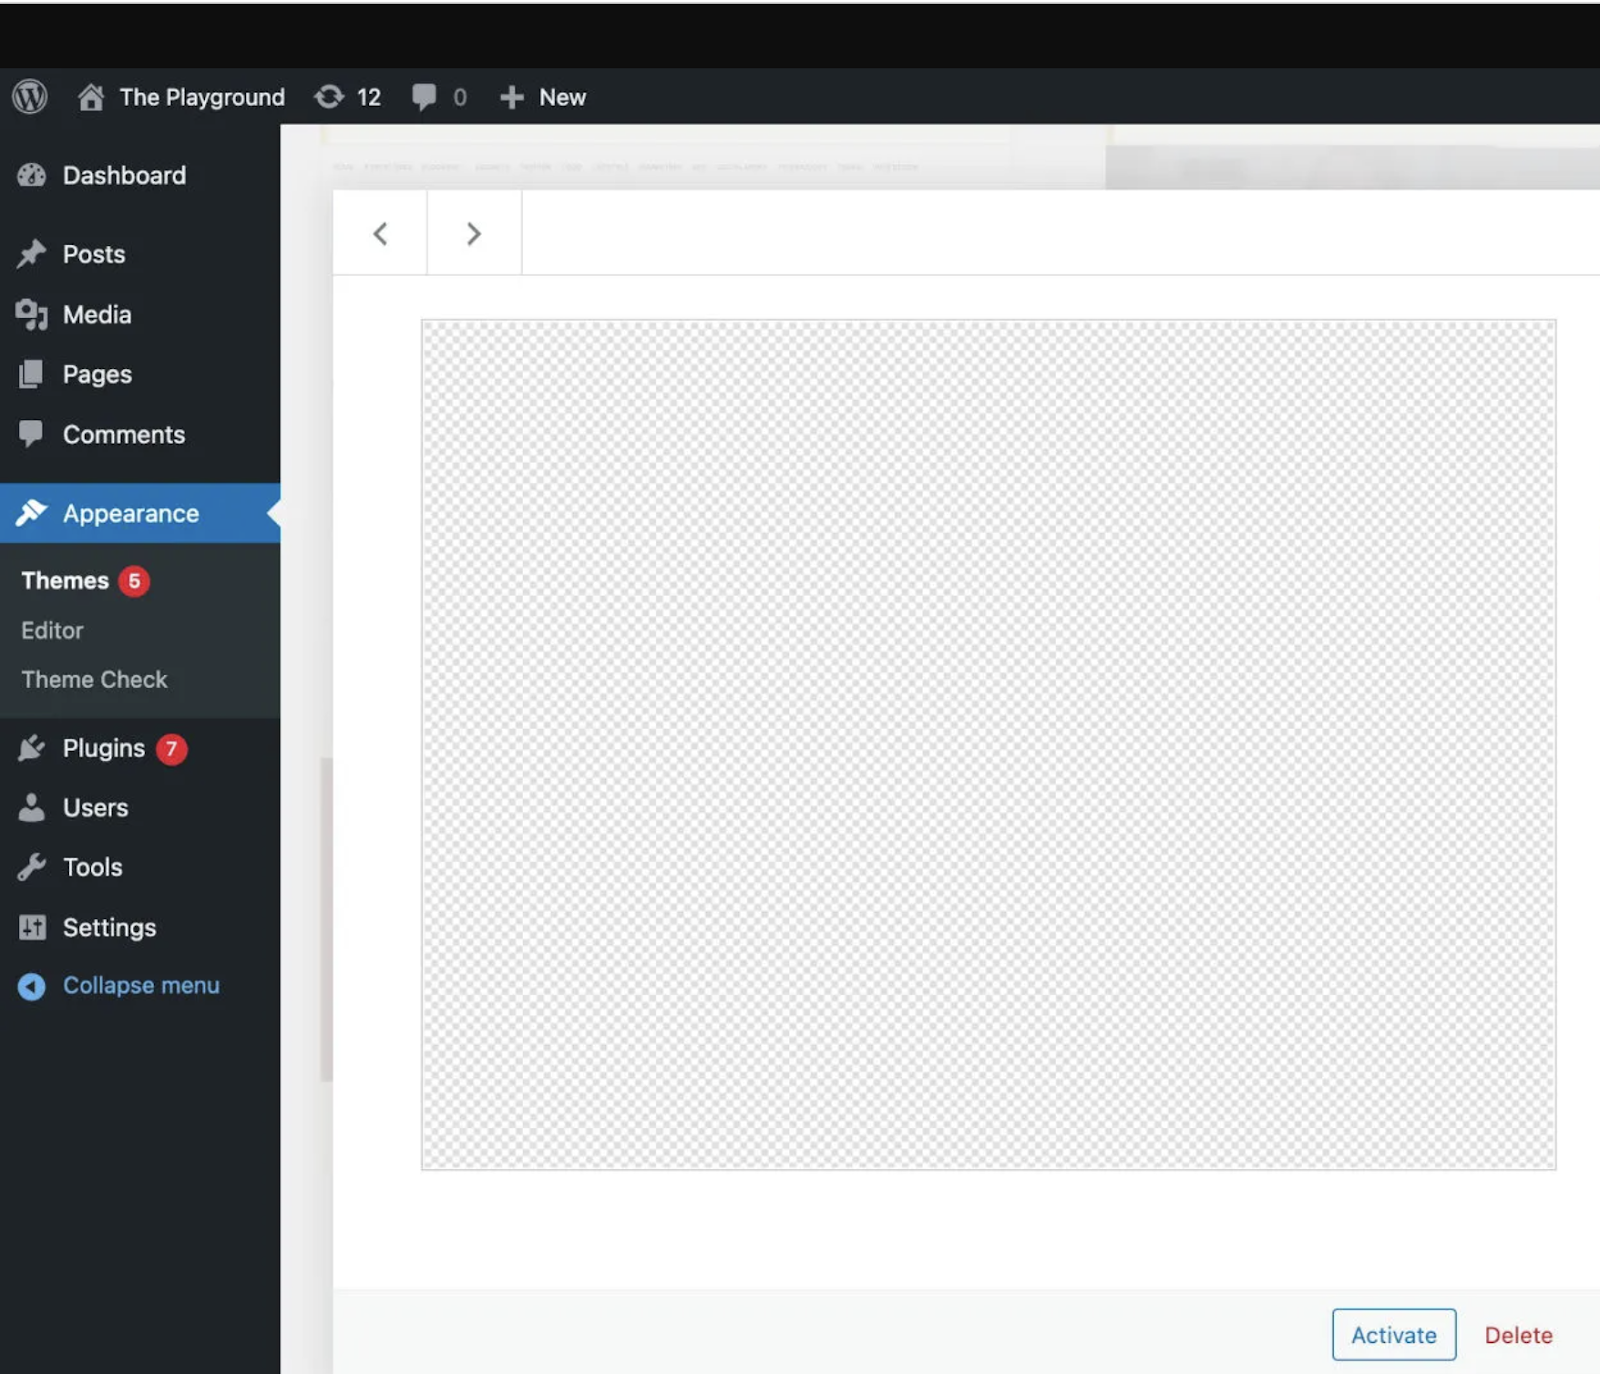
- Once your theme is installed, go to Appearance > Themes in your WordPress admin and point to your theme. Click the Activate.
Best Practices for Organizing Your Child Theme Files
Keeping your child theme organized is essential for long-term management. Here are some best practices:
- Create Separate Folders: If you plan to add custom JavaScript files or images, create separate folders for each to keep your directory clean.
- Use Clear Naming Conventions: Name your files descriptively (e.g., custom-styles.css, custom-scripts.js) to make it easier to find them later.
- Comment Your Code: Always comment on your code to explain what each section does. This will help you and others understand your thought process when revisiting the code later.
By following these best practices, you not only keep your child theme organized but also ensure compatibility with future updates.
Tip 2: Ensure Compatibility with Parent Theme Updates
One of the key reasons why you use a child theme is to ensure that any updates to the parent theme don’t overwrite your customizations.
Why Ensure Compatibility?
Compatibility isn’t automatic, and you have to make sure that your child theme is structured to work properly with future updates. Parent theme updates might introduce new features, security patches, or bug fixes. Ensuring that your child theme remains compatible with these updates is crucial for maintaining both the functionality and security of your website.
How to Ensure Compatibility
- Regularly check for updates: Whenever your parent theme gets updated, ensure you’ve tested the child theme’s functionality in a staging environment. This helps in spotting any broken functionality early.
- Avoid Extensive Modifications: If your child theme relies heavily on the parent theme functions, make sure you’re aware of any major changes introduced by updates. This is especially important if you modify core templates like header.php or footer.php.
- Use Hooks and Filters: To minimize compatibility issues, rely more on WordPress hooks and filters. Instead of directly modifying parent theme templates, try using action hooks and filters to inject functionality into the parent theme.
- Stay Informed: Follow the parent theme’s changelog to keep track of updates and changes that could affect your child theme. This allows you to prepare ahead of time for compatibility issues.
Tip 3: Keep Your Child Theme’s CSS Organized
One common mistake developers make is letting their child theme’s CSS turn into a disorganized mess. Clean, organized CSS makes it easier to maintain your child theme over time, especially when it grows in complexity.
Why
Organized CSS helps you locate specific styles quickly, making debugging much easier. Plus, as your child theme grows, maintaining a logical structure will save you headaches in the long run. Well-structured CSS also makes collaboration easier if multiple developers are working on the same project.
How
- Use Comments: Label each section of your CSS (e.g., “/* Header Styles */”) to keep it easy to navigate. Comments make it easy for others (or future you) to understand the purpose of each section.
- Group Related Styles: Keep related elements together in one section. This logical grouping helps when debugging or making updates later.
- Follow a Consistent Naming Convention: Using clear, consistent class names (e.g., .header-title, .footer-link) makes your code easier to understand. Avoid vague names like .red-text—describe what the class is for instead.
- Leverage SASS/SCSS: For advanced users, consider using a CSS preprocessor like SASS to create modular CSS files. You can break down your CSS into smaller files for different sections (e.g., _header.scss, _footer.scss) and compile them into one file. This helps with maintaining clean code.
- Do Not Overwrite Parent Styles Unnecessarily: Do not overwrite parent styles entirely; instead, try using more specific selectors or add new styles to reduce the risk of conflicts with future updates.
Tip 4: Utilize Version Control with Your Child Theme
Version control is a system that logs changes to your files over time. It’s a savior when you need to restore a previous version of your theme or collaborate with other developers.
Why
When working on a WordPress child theme, version control ensures that every change you make is tracked. In case something breaks, you can easily roll back to a previous version. It also allows you to collaborate on the same theme without fear of overwriting someone else’s changes.
How
- Git for your Theme: Set up a Git repository for your theme. Tools like GitHub or Bitbucket can help you store, manage, and track your theme’s versions. InstaWP offers to integrate a version control system into your staging, and that’s amazing.
- Commit Often: Make it a habit to commit changes regularly. Each commit should have a clear message describing what was changed or fixed, helping you to identify changes easily later on.
- Use Branches: Prefer creating different branches for major changes. It is really helpful to work on experimental features without affecting the stable version of your theme.
- Roll Back When Necessary: If something breaks in your theme, use Git to roll back to a previous, stable version with a simple command.
Tip 5: Optimize for Performance
Themes, including child themes, can have a significant impact on your site’s performance. Poorly coded themes can cause lag to your website, creating a bad user experience and negatively impacting SEO.
Why
Performance optimization significantly reduces loading times, improving user experience, and improving search engine rankings. A fast website keeps visitors engaged and ensures your custom child theme doesn’t become a burden.
Search engines also factors in site speed when ranking pages, so optimizing your child theme can directly impact your SEO efforts.
How
- Minify CSS and JS: Tools like Autoptimize can help you minify and combine your CSS and JavaScript files to reduce their size. This reduces the HTTP request count made to the server, improving page load times.
- Lazy Load Images: Use lazy loading for images to ensure they load only when they appear on the user’s screen, which improves performance for image-heavy pages.
- Use a Caching Plugin: Caching can significantly speed up your website by storing a static version of your pages. Plugins like WP Super Cache or W3 Total Cache can help with this.
- Optimize for Mobile: Make your child theme mobile-responsive and ensure it loads immediately on all devices.
Tip 6: Test, Test, Test!
Never ignore testing. From compatibility checks to performance testing, thorough testing brings confidence that your website runs smoothly under various conditions.
Why
Testing prevents issues from slipping through the cracks and going live. Whether it’s cross-browser compatibility or functionality across different devices, testing ensures that your child theme works as expected for all users.
Without adequate testing, you risk deploying a broken or slow site, which could hurt your brand or business.
How
- Cross-browser Testing: Test your child theme across popular browsers to ensure consistent behavior.
- Mobile Testing: InstaWP lets you test responsiveness of your child theme on mobile phones and tablets from the dashboard only. Ensure that buttons, images, and text render correctly on smaller screens.
- Functionality Testing: Test all the features you’ve added to ensure they work as expected.
- Staging Environment Testing: Always perform a final round of testing in your staging environment before pushing any changes live. This step ensures that nothing breaks your live site. And no need to say; you can witness yourself that there can be no better tool than InstaWP for staging.
Conclusion
Working with WordPress child themes is a smart way to customize and enhance your website while keeping your changes safe from unwanted updates. By following the above-discussed six expert tips and practices, you can ensure that your child themes are well-structured, compatible, and optimized for performance.
So, what’s the point to wait? Create your staging site now and start experimenting with your child theme!