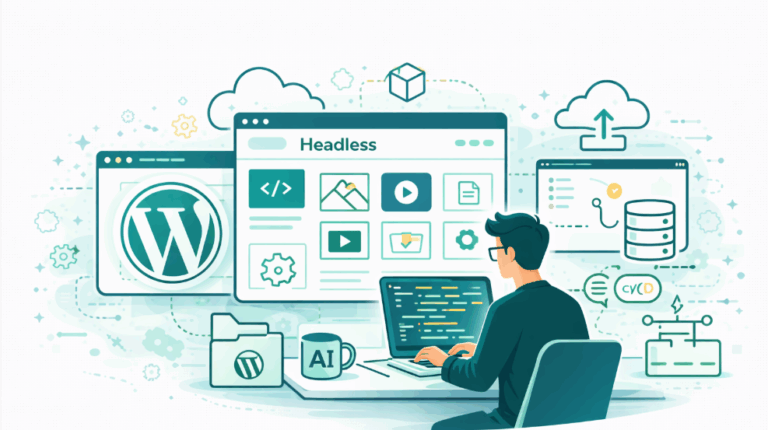
Headless WordPress with Astro means you keep WordPress purely as your content editor and serve the public site as static HTML built by Astro. WordPress exposes your posts through its built-in REST API (or WPGraphQL), Astro fetches that content at build time, and ships zero-JavaScript pages. The result is a blazing-fast frontend with the WordPress editing workflow your team already knows and this guide shows you how to set up Astro headless WordPress step by step.
You write in WordPress because it is the best writing tool on the web. The editor, the media library, revisions, scheduling – that part earns its keep. The public side is where it gets heavy: a theme, a stack of plugins, and PHP hitting the database on every page view. You add a caching plugin, a CDN, maybe a faster host, and you are still watching your PageSpeed score.
Going headless is a different approach. You keep WordPress for writing and hand the frontend to a static site generator. WordPress becomes a content API. Astro reads that API once, at build time, and turns every post into a plain HTML file. Pages load fast because there is nothing to compute when a reader arrives – the server just hands over a file.
This guide does it end to end with a real WordPress site on InstaWP and an Astro frontend deployed on InstaPods. About ten minutes, real commands.
Table of Contents
Key Takeaways
What is headless WordPress with Astro?
In a headless WordPress with Astro setup, WordPress runs only as the backend content store and Astro builds the frontend. Instead of a WordPress theme rendering each page with PHP on every request, Astro reads your content once at build time , through the WordPress REST API or a GraphQL plugin like WPGraphQL, and outputs plain static HTML. Editors keep working in the WordPress dashboard they already know, while readers get a fast, static site.
What Stays the Same, and What Changes When You Make WordPress Headless
Making WordPress headless does not mean moving away from WordPress. It means changing the role WordPress plays in your website workflow.
In a traditional WordPress setup, WordPress manages the content, theme, frontend, plugins, page rendering, and public delivery. In a headless setup, WordPress continues to manage content, users, media, drafts, revisions, and publishing. The public frontend is handled separately by Astro.
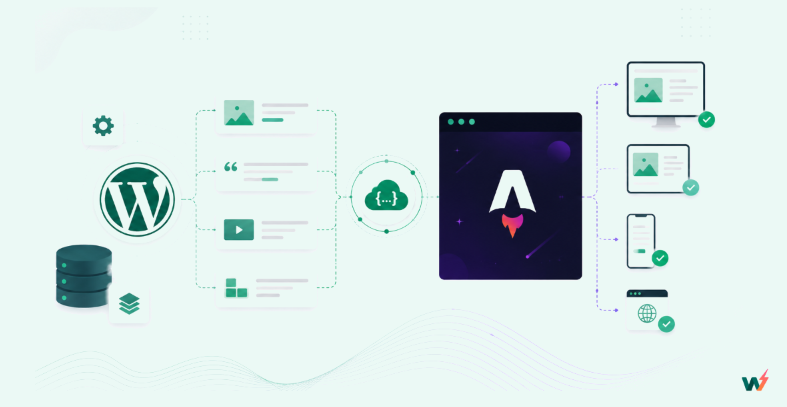
That split is useful because WordPress remains the familiar CMS for writers and editors, while Astro gives developers a faster, cleaner, static frontend. Instead of asking WordPress to generate every public page at request time, Astro reads content from the WordPress REST API and builds static HTML pages. For a closer look at the frontend side, see our guide to building a headless WordPress frontend.
For agencies and developers, this also makes hosting strategy more important. Even in a headless setup, WordPress still needs to run reliably as the backend. It needs secure admin access, REST API availability, media handling, backups, staging, and site management.
This is where InstaWP fits as a managed WordPress cloud hosting platform. You can use InstaWP to host and manage the WordPress backend, while the Astro frontend handles the public-facing site.
The short version: nothing about writing changes. Your team still creates and manages content in WordPress. What changes is how that content reaches readers.
Two Layers, Two Editors
This is the real advantage of making WordPress headless: the website is split into two clean layers, and each layer has a clear owner.
WordPress becomes the content layer. Writers, marketers, and editors continue working inside the WordPress dashboard they already know. They can write posts, upload media, manage drafts, use revisions, schedule content, and update pages without touching code or waiting on a developer.
Astro becomes the frontend layer. The public website, including layouts, templates, components, styling, and performance decisions, lives in code. That gives developers full control over the frontend while keeping the content safely managed inside WordPress.
This split becomes even more useful when AI coding agents enter the workflow. An agent can help update the Astro layer quickly, whether you want to redesign a post template, add a related-posts section, improve the homepage layout, or restyle the blog. The frontend changes, but the content stays where it belongs: inside WordPress.
For agencies, this solves a common workflow problem. Clients and content teams get the familiar WordPress editing experience, while developers get a faster, cleaner frontend stack. You are no longer forced to choose between an easy CMS for editors and a modern frontend for performance.
You Already Have an API to Build Headless WordPress
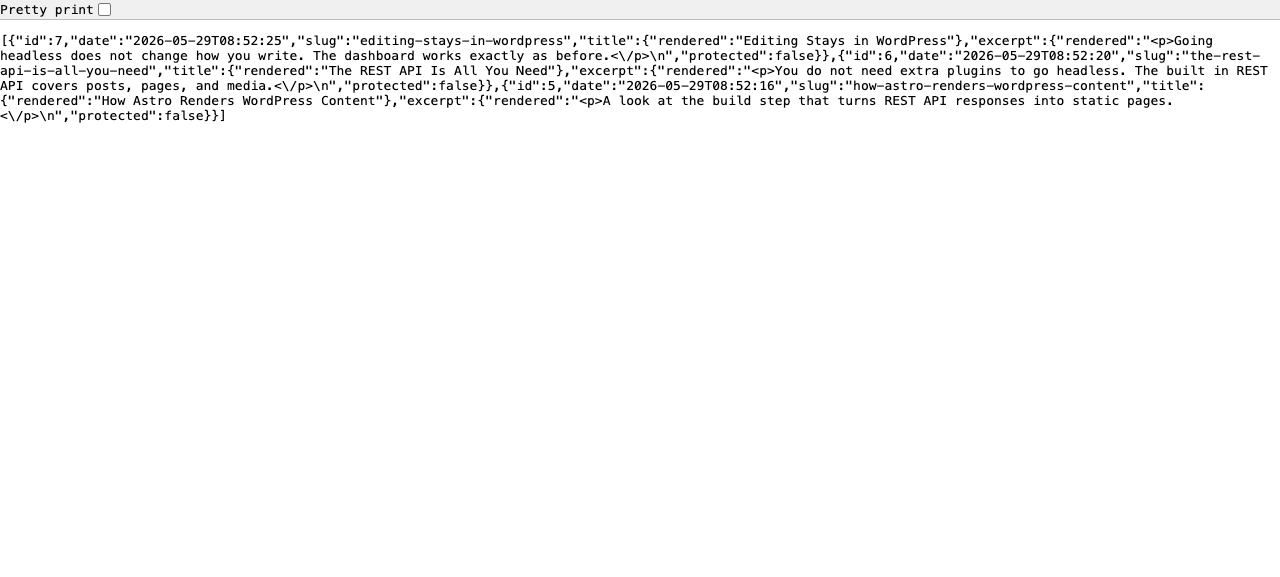
You do not need a plugin to go headless. Every WordPress install ships with the REST API. Open this on your own site right now:
https://your-site.com/wp-json/wp/v2/posts
You will get your posts back as JSON – titles, content, excerpts, dates, all of it. Add ?_embed=1 and WordPress also inlines the featured image, author, and categories. That JSON is everything Astro needs.
REST API vs WPGraphQL: which to use with Astro
Astro can pull WordPress content two ways, and both work well for a headless build:
- REST API (built in): Every WordPress install exposes
/wp-json/wp/v2/with no plugin and no configuration. It returns posts, pages, media, authors, and categories as JSON; everything a blog frontend needs. This guide uses REST because it works out of the box. - WPGraphQL (plugin): A GraphQL layer lets you request exactly the fields you need in a single query, which solves the over-fetching and under-fetching you hit with deeply nested custom fields, ACF data, or complex content relationships. It is the better fit for large, structured content models.
For a straightforward blog, the built-in REST API keeps the stack simpler. If your content model is complex, compare WPGraphQL and other GraphQL plugins before you build.
How to make WordPress headless with Astro (step by step)
Now that the architecture is clear, let’s build the workflow step by step.
Step 1: Spin up WordPress on InstaWP
In a headless WordPress setup, WordPress will act as the backend CMS where you create, edit, and manage content. Astro will act as the frontend that pulls content from the WordPress REST API and turns it into fast static pages.
We’ll start by creating a WordPress site on InstaWP, confirm that the REST API is working, connect Astro to that API, and then deploy the static frontend on InstaPods. This gives you a complete headless WordPress setup where editors keep using WordPress and visitors get a faster frontend.
You can create the WordPress backend from the InstaWP dashboard, but for developers, the fastest way is through the InstaWP CLI. The CLI lets you create cloud WordPress sites, run WP-CLI commands, seed content, and manage WordPress workflows directly from your terminal without setting up a local environment.
Watch it in action:
Let’s create a WordPress instance using InstaWP CLI:
instawp create --name my-blog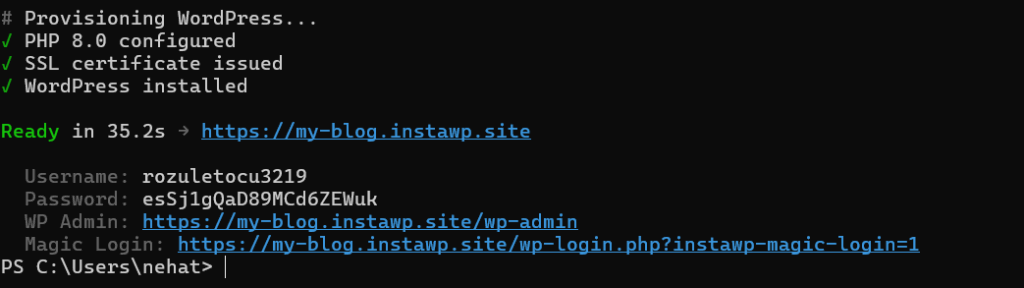
That is a real WordPress install with SSL and admin access, ready in about 30 seconds. You can also create one from the InstaWP dashboard in a couple of clicks.
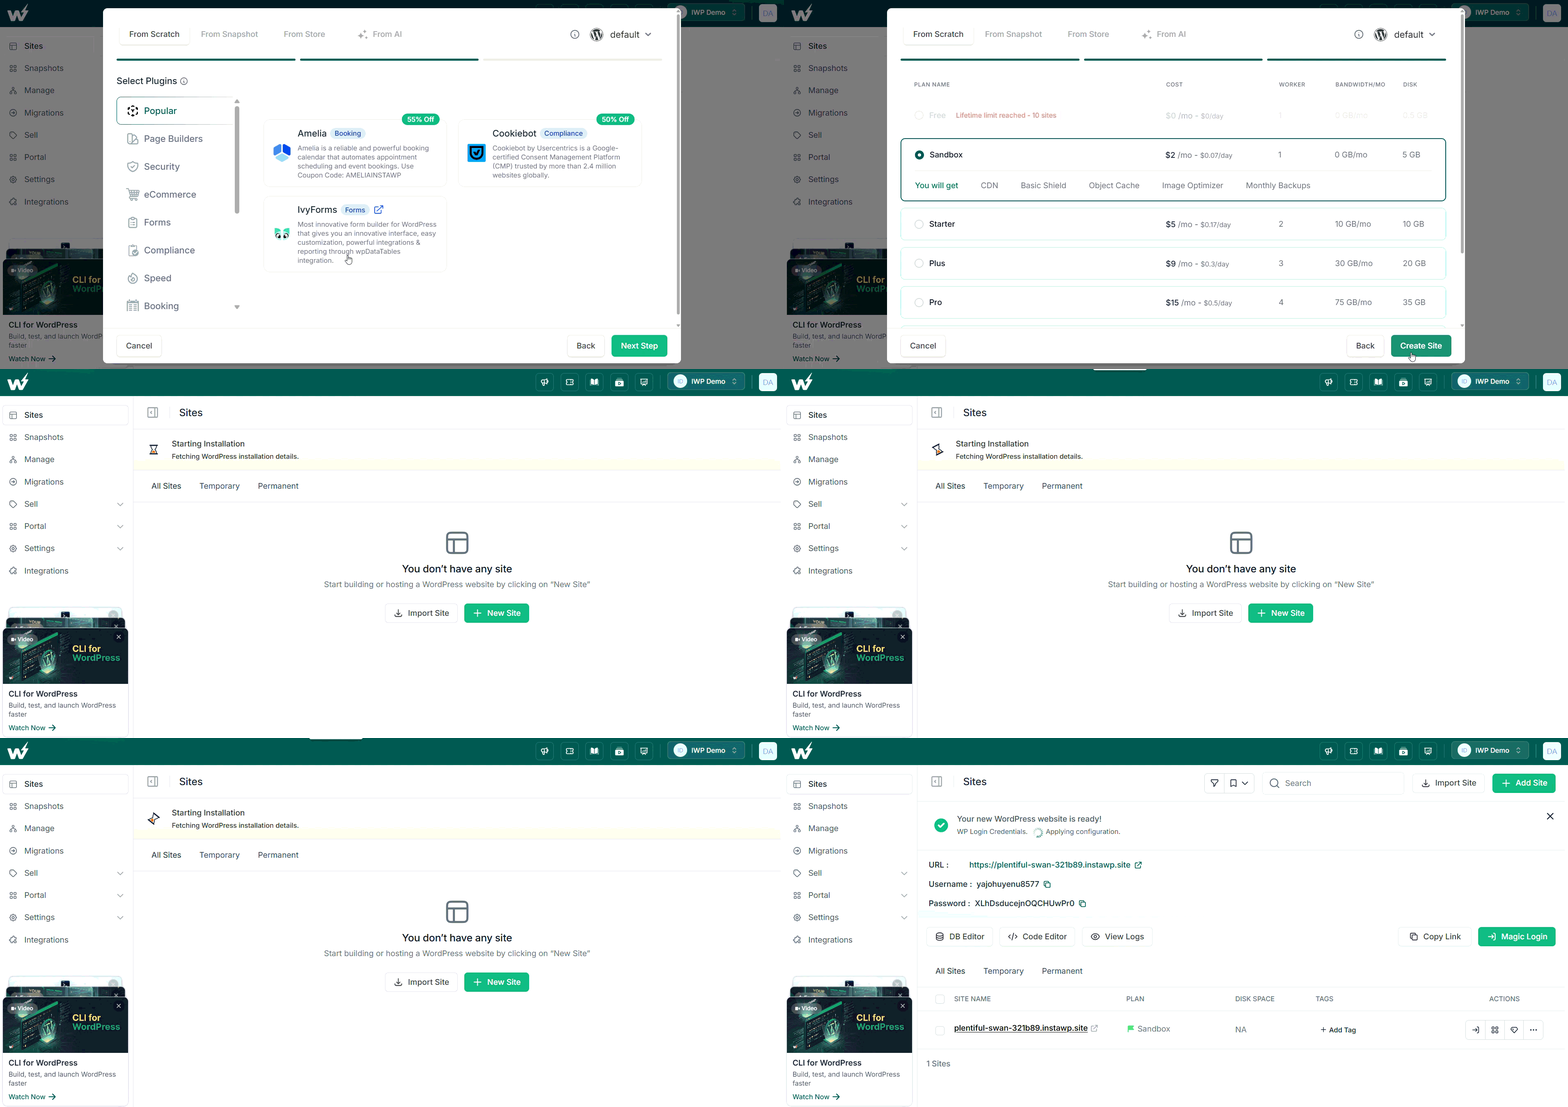
Write a few posts, or seed them from the CLI:
instawp wp my-blog -- post create --post_title="Hello headless" --post_status=publish
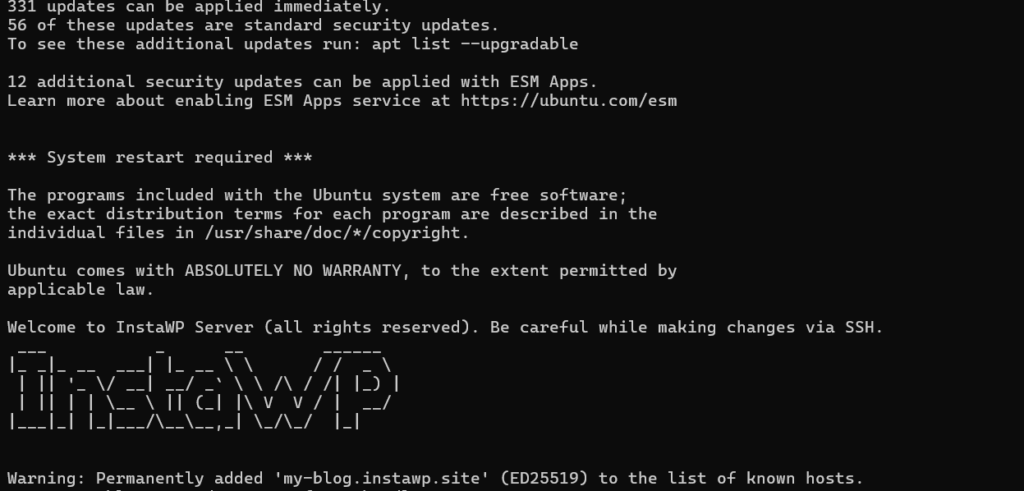
Step 2: Confirm the REST API
Before you build the Astro frontend, confirm that WordPress is exposing your content through the REST API. Every modern WordPress site includes the REST API by default. This is what allows Astro to read your posts, pages, media, authors, and categories without needing WordPress to render the frontend.
Run this command using your InstaWP site URL:
curl "https://my-blog.instawp.site/wp-json/wp/v2/posts?_embed=1"If everything is working, you should see JSON output containing your WordPress posts.
The _embed=1 parameter is important. It tells WordPress to include related data like featured images, authors, and categories in the same response. Without it, Astro may need to make extra API requests to fetch media or author details.
Your API base URL is:
https://my-blog.instawp.site/wp-json/wp/v2This is the value Astro needs. In the next step, you will add this API URL to your Astro project so the frontend can fetch content from WordPress during the build process.
Step 3: Build the Astro Frontend
Now that your WordPress backend is ready, the next step is to build the Astro frontend. Astro will read your WordPress content at build time and generate static pages from it. This means visitors will not wait for WordPress, PHP, plugins, or database queries when they open the site. They will receive pre-built HTML pages.
The core of the setup is a small WordPress API client. This file fetches all posts from WordPress and follows pagination so every post is included.
Create a file like this:
// src/lib/wp.ts
import { WP_API_URL } from 'astro:env/server';
export async function getAllPosts() {
  const first = await fetch(`${WP_API_URL}/posts?_embed=1&per_page=100&page=1`);
  const totalPages = Number(first.headers.get('X-WP-TotalPages') ?? '1');
  const posts = await first.json();
  for (let page = 2; page <= totalPages; page++) {
    const res = await fetch(`${WP_API_URL}/posts?_embed=1&per_page=100&page=${page}`);
    if (res.ok) posts.push(...(await res.json()));
  }
  return posts;
}
Here is what this does:
- WordPress limits each REST API request to 100 posts using
per_page=100. - If your site has more than 100 posts, WordPress sends the total number of pages in the
X-WP-TotalPagesheader. - The loop checks that number and continues fetching posts until every page of results has been collected.
This matters for real blogs because you do not want Astro to build only the latest 100 posts and miss the older ones.
Next, create a dynamic Astro page that builds one route for every WordPress post.WordPress caps per_page at 100 and reports the page count in the X-WP-TotalPages header, so the loop grabs every post.
---
// src/pages/blog/[slug].astro
import { getAllPosts } from '../../lib/wp';
export async function getStaticPaths() {
  const posts = await getAllPosts();
  return posts.map((post) => ({ params: { slug: post.slug }, props: { post } }));
}
const { post } = Astro.props;
---
<h1 set:html={post.title.rendered} />
<article set:html={post.content.rendered} />
This file creates one static page for each WordPress post. For example, if WordPress has a post with the slug hello-headless, Astro will generate a page like:
/blog/hello-headlessThe post title and content come from WordPress as rendered HTML. Astro places that HTML into the page using set:html.
This is the key idea behind the setup: WordPress remains the content source, but Astro controls how the content is displayed on the public site.
To save you the boilerplate, there is a starter with the REST client, the post list, single-post pages, and styling for WordPress block content. Point it at your site with one environment variable: astro-headless-wp starter.
Step 4: Build and Deploy the Static Frontend
Once Astro is connected to WordPress, build the frontend. First, copy the environment file and add your WordPress REST API base URL:
cp .env.example .envInside .env, set your API URL:
WP_API_URL=https://my-blog.instawp.site/wp-json/wp/v2Then install dependencies and build the static site:
npm install
npm run buildAstro will fetch your WordPress posts, create the routes, and generate the static frontend inside the dist folder.
That dist folder is the public website. It contains static HTML, CSS, JavaScript, and references to your WordPress media files. Now deploy the static frontend to InstaPods. Because it is just static files, that frontend deploys to any static host, Netlify, Vercel, or Cloudflare Pages, or to purpose-built headless WordPress hosting like InstaPods, which we use here.
Install the InstaPods CLI once:
curl -fsSL https://instapods.com/install.sh | shThen deploy the built site:
cd dist
instapods deploy my-blog --preset staticYou should see a deployment response like this:
Deployed in 15.6s
-> https://my-blog.nbg1-4.instapods.appYour headless WordPress site is now live. WordPress stays on InstaWP as the backend CMS. That is where your team logs in, writes posts, uploads media, manages users, and controls content.
InstaPods serves the Astro frontend as static files over HTTPS. That is what visitors see when they open the public site. This gives you a clean two-layer setup:
- WordPress on InstaWP handles content, admin, REST API, and backend workflows.
- Astro handles frontend templates, layouts, and static page generation.
- InstaPods handles fast static delivery for the public site.
The result is a headless WordPress setup where editors keep using WordPress, developers get a modern frontend, and visitors get a fast static site: https://my-blog.nbg1-4.instapods.app
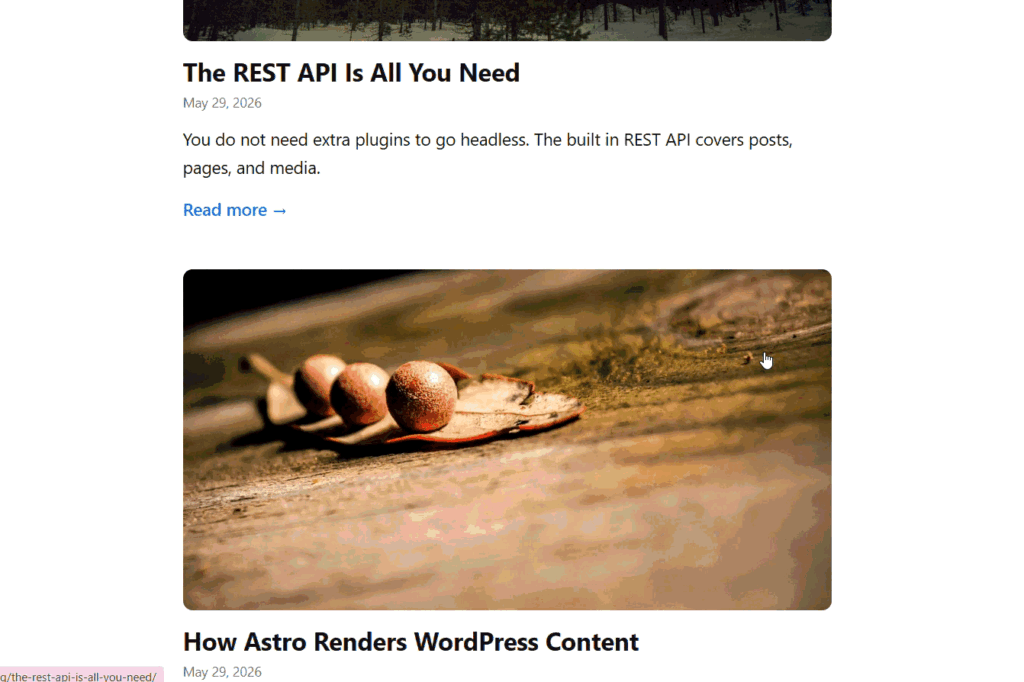
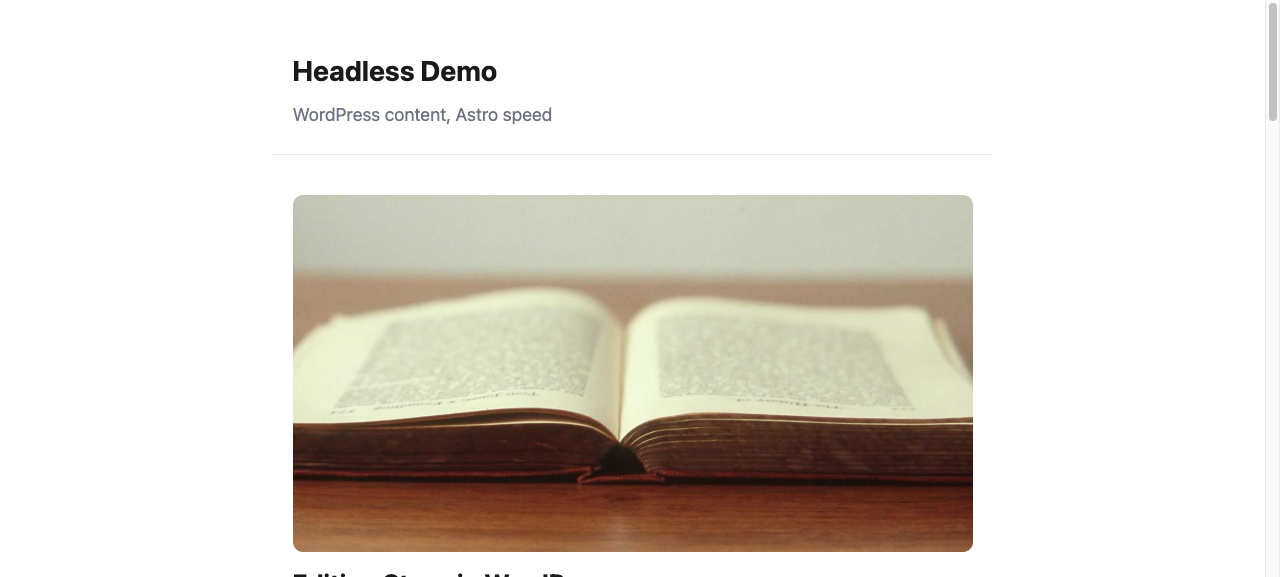
Your frontend is now static files served over HTTPS for $3/mo flat. Point a custom domain at it with a CNAME and the SSL is handled for you. WordPress stays where it is – that is where you log in and write. InstaPods serves what readers see.
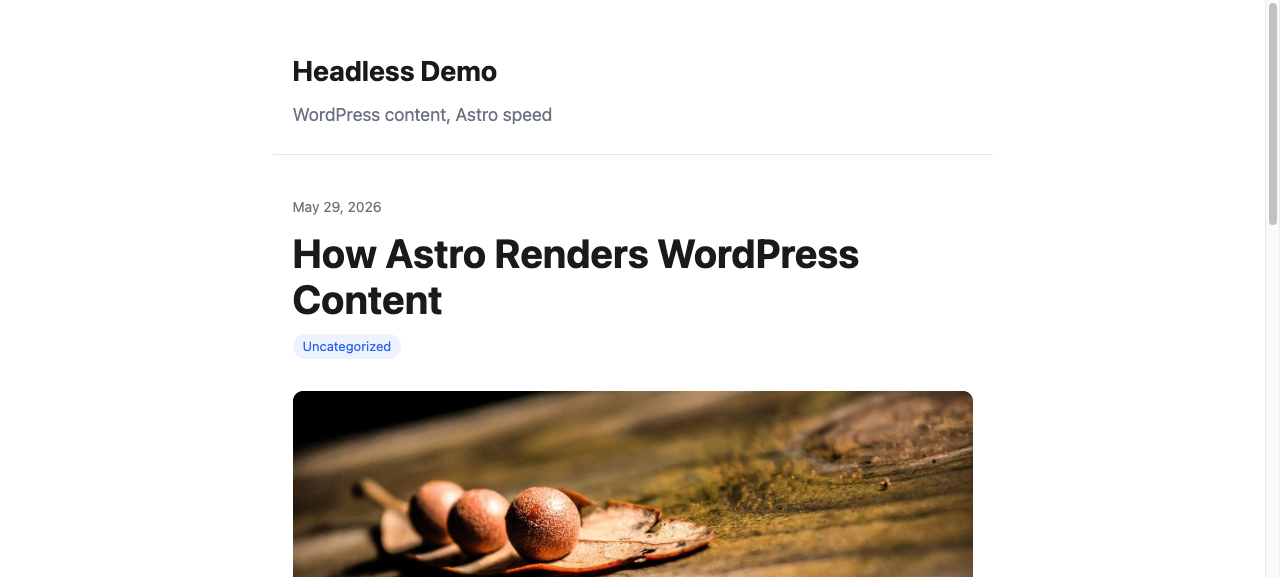
The screenshots below are this exact demo, running live at astro-headless-demo.nbg1-4.instapods.app. Click around, then build your own.
Astro vs traditional WordPress: performance and Core Web Vitals
The main reason teams go headless with Astro is speed. A traditional WordPress theme builds each page on request; PHP runs, plugins load, and the database is queried before anything reaches the browser. Astro does that work once at build time and serves finished static HTML, so there is nothing to compute when a reader arrives.
In practice that usually means a faster Largest Contentful Paint (LCP) and Time to First Byte (TTFB), plus far less JavaScript on the page. Exact numbers depend on your theme, plugins, and host, so treat these as typical ranges rather than guarantees: a plugin-heavy WordPress theme often lands a mobile Lighthouse performance score somewhere in the 50–80 range, while a static Astro build of the same content commonly scores 90–100 because it ships little or no render-blocking JavaScript. The reliable way to know your own figures is to measure both with Lighthouse or PageSpeed Insights on identical content.
When headless WordPress with Astro makes sense (and when it doesn’t)
Headless is a great fit for some sites and a poor fit for others. Be honest about which one you have before you commit:
Good fit
- Content-heavy blogs, docs, and marketing sites where speed and SEO matter.
- Teams with a developer who is comfortable with a build-and-deploy step.
- Sites that see traffic spikes — static pages absorb load without straining WordPress.
- Projects that need top Core Web Vitals, or that want to reuse the same content across web, app, and other channels.
Poor fit
- Sites that lean on dynamic PHP plugins for the public frontend; membership walls, complex forms, live faceted search.
- Non-technical solo owners who want to edit the live page directly, with no build step in the loop.
- Comment-heavy or real-time community sites that expect instant interaction on every page.
If you land in the middle, a large site with thousands of posts, or one that needs a few dynamic pages, you do not have to go fully static. Astro also supports server-side rendering (SSR) and hybrid rendering, so you can pre-build most pages and render the few dynamic ones on demand as build times grow.
Build it with Claude Code (Optional)
This stack was built by driving Claude Code as a harness: it created the InstaWP site, scaffolded Astro, wrote the REST client, and ran the deploy. If you use an AI coding agent, you can give it the same instruction and review each step.
You do not need Claude Code to follow this guide – the commands above are the real ones. An agent only makes the loop faster. And after launch, the agent keeps the frontend: ask it to restyle a page or add a section, and your content in WordPress stays exactly where it is.
Does Going Headless Hurt SEO?
Going headless does not hurt SEO by default. A poorly implemented headless setup can hurt SEO, but a well-built one can improve it.
The biggest SEO advantage is performance. Astro generates static HTML, so pages load quickly without waiting for PHP, plugins, or database queries on every visit. Faster pages can improve user experience, Core Web Vitals, and crawl efficiency.
But speed alone is not enough. In a traditional WordPress setup, WordPress SEO plugins like Yoast SEO and Rank Math output titles, meta descriptions, canonical URLs, Open Graph tags, schema, and other SEO elements directly through the WordPress theme. In a headless setup, your WordPress theme no longer controls the public site, so Astro must render those SEO elements on the frontend.
The good news is that you can still manage SEO inside WordPress. Your team can continue writing SEO titles, meta descriptions, and social metadata using Yoast or Rank Math. Astro can read that data from the WordPress REST API and output it in the page head.
Headless SEO Workflow
How SEO Moves from WordPress to Astro
In a headless WordPress setup, SEO is still managed inside WordPress. The difference is that Astro must read that SEO data and render it on the static frontend.
Manage SEO in WordPress
Writers and marketers add SEO titles, meta descriptions, social images, canonical settings, and schema fields using tools like Rank Math or Yoast.
Astro Reads the SEO Data
Astro pulls the SEO fields from the WordPress REST API along with the post content, featured image, author, slug, and publish date.
Static Frontend Renders SEO
The Astro frontend outputs final title tags, meta descriptions, canonical URLs, Open Graph tags, image metadata, and schema in the page source.
Quick check: Before launch, view the source of the Astro page and confirm that the SEO tags are present on the frontend, not only inside WordPress.
Before publishing a headless WordPress site, check that every important SEO element appears in the final HTML source of the Astro frontend, not just inside WordPress. That includes meta titles, descriptions, canonical tags, index/noindex settings, Open Graph tags, image alt text, sitemap links, and structured data.
In short, headless WordPress can be very SEO-friendly, but only when the frontend is built to carry WordPress SEO data forward correctly.
Try it
Spin up a WordPress site on InstaWP, grab the Astro starter, and deploy the frontend on InstaPods for $3/mo flat – no credit card needed to start.
Hosting the frontend is the other half of this. The InstaPods team wrote the companion guide from the deployment side: Headless WordPress + Astro: Deploy a Fast Blog.
FAQs
Do my plugins still work?
Content and admin plugins (editorial workflow, SEO fields, media tools) keep working – they run inside WordPress. Frontend plugins that inject scripts or shortcodes into the theme do not run on a static site, because the theme no longer renders the public pages. Move those features to a small bit of JavaScript or a dedicated service.
Can editors preview drafts?
Draft preview inside WordPress still works. To preview on the Astro frontend, trigger a build, or run a small preview build. Teams that need instant frontend preview usually run Astro in SSR mode for a preview environment and keep production static.
Do I need to know JavaScript?
A little helps, but the starter handles the WordPress fetching, routing, and styling. Setting one environment variable and running two commands gets you a working site.
What about comments and forms?
Use a hosted service (a comments widget, or a forms provider) embedded with a snippet, or route them through a small API. The static frontend stays static; the dynamic bits live in a service.
Is my WordPress still public?
Your WordPress stays online because that is where you log in and where the REST API lives. You can restrict it – limit /wp-admin, require auth – since the public site no longer needs to reach it directly. Readers only ever touch the static frontend.
Can I go headless with WooCommerce?
Yes. The same headless pattern works for products – WooCommerce exposes its data through the REST API (or WPGraphQL), and Astro renders the storefront as static pages. See our walkthrough on building a headless WooCommerce product demo.