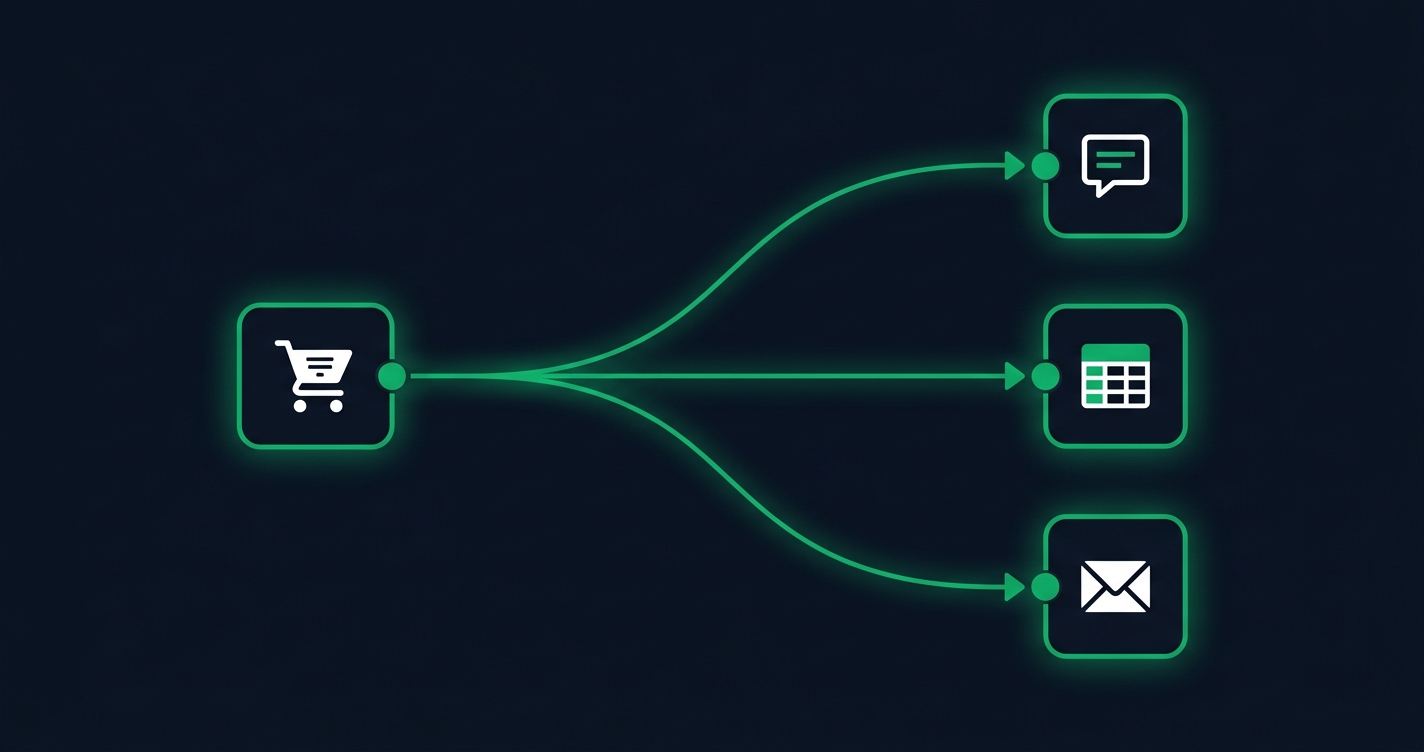
Every WordPress site leaks manual work. A form comes in and someone copies it into a spreadsheet. An order lands and someone pastes the details into Slack. A post goes live and someone opens four tabs to share it. None of it is hard. It is just endless.
When you connect n8n to WordPress, most of that manual work disappears, and unlike Zapier it does not bill you per task. n8n is an open-source automation tool with a visual workflow editor and a native WordPress node, so you can wire your site to 400+ other services without writing a plugin.
This guide covers the full n8n WordPress integration end to end: the two connection methods most tutorials skip, five workflows worth building first, and where to run n8n so a busy site does not blow past an execution cap.
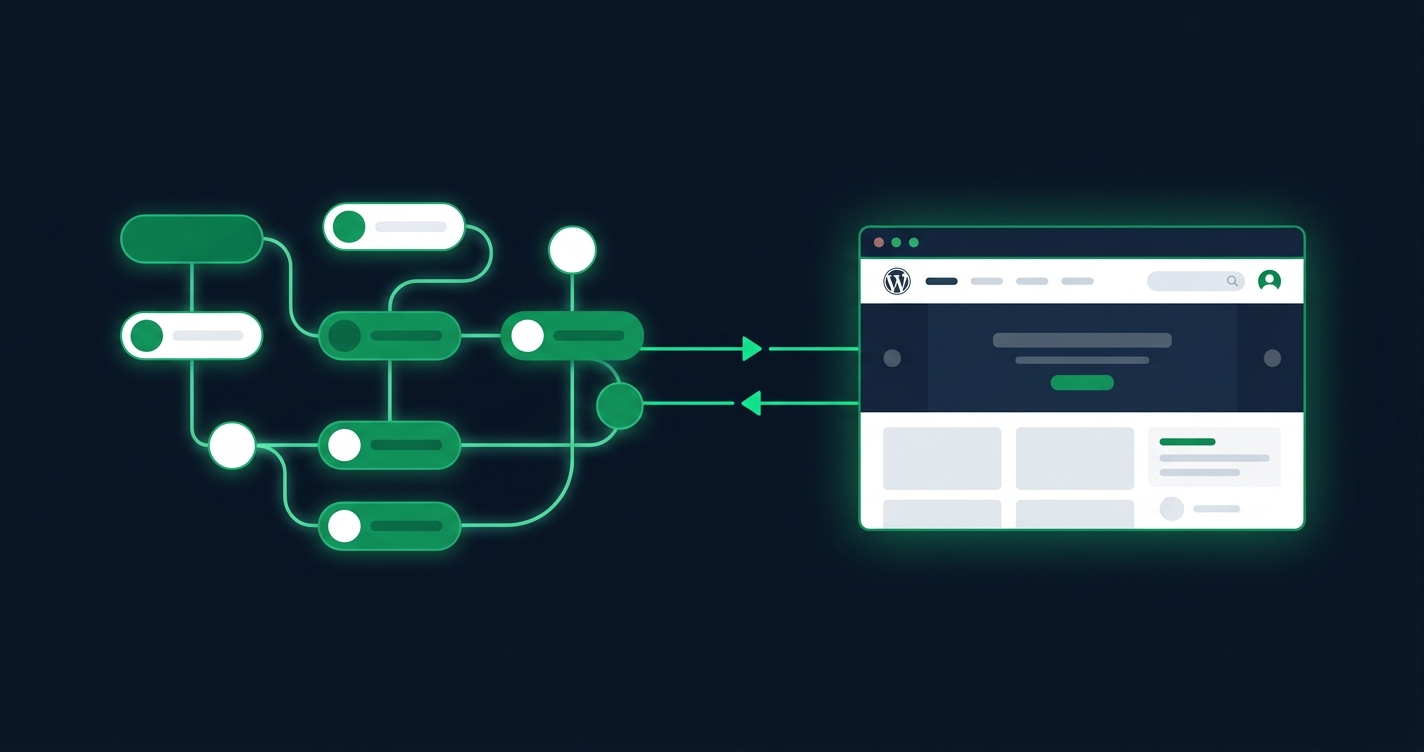
Table of Contents
- How the n8n WordPress integration actually works
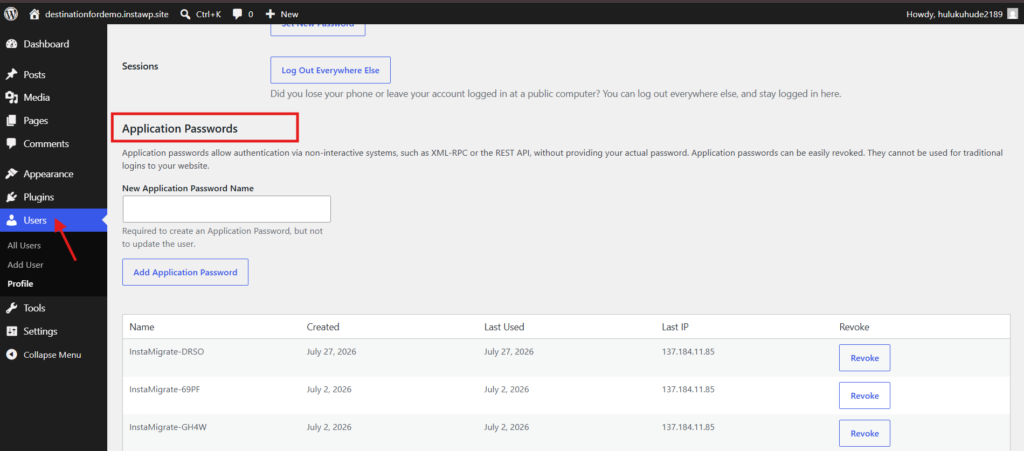
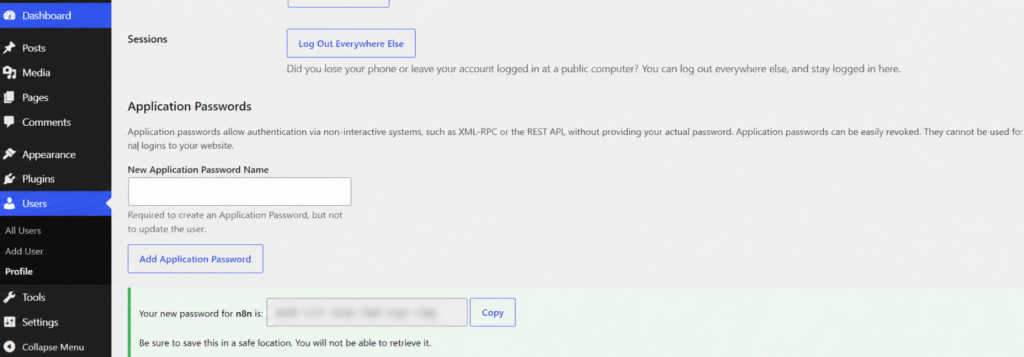
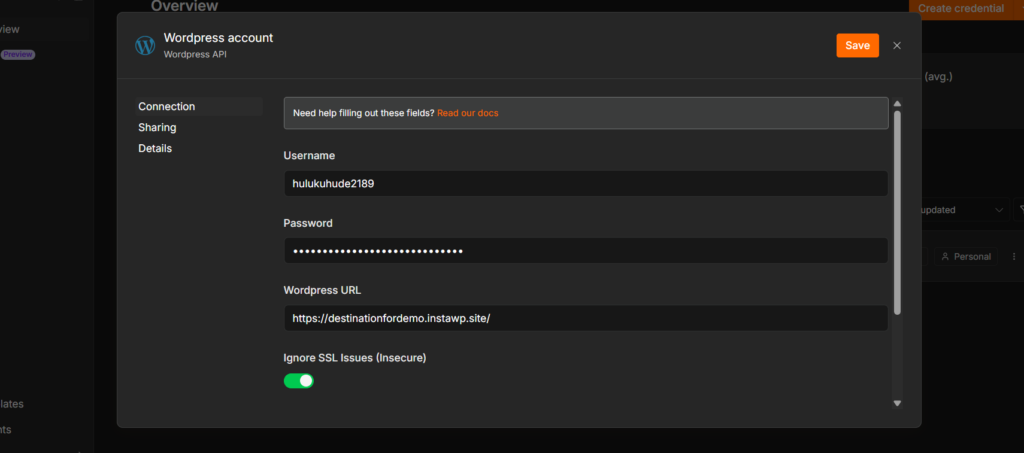
- Step 1: Connect n8n to WordPress with an application password
- Step 2: Let WordPress trigger n8n with webhooks
- 5 n8n WordPress workflows worth building first
- Where to host n8n: deploy the pre-built instance on InstaPods
- 3 things that will break (and how to fix them)
- Where to go next
- Frequently asked questions
How the n8n WordPress Integration Actually Works
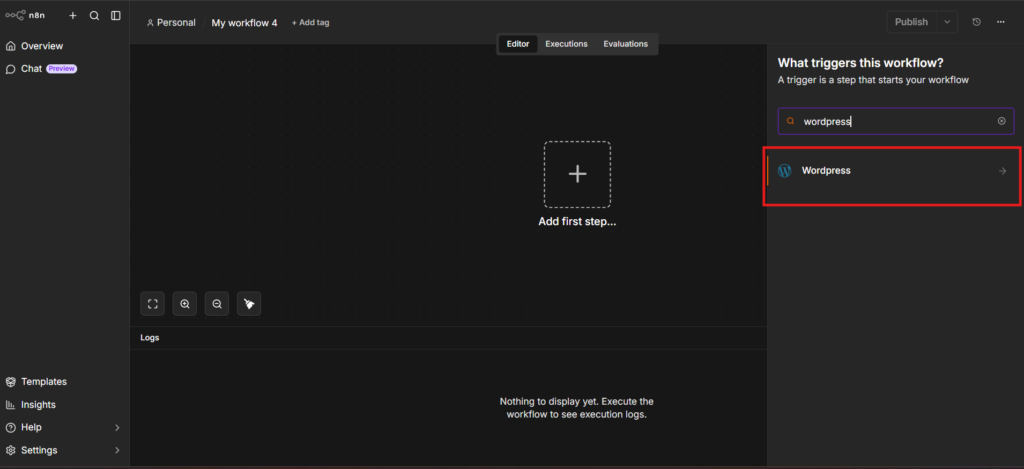
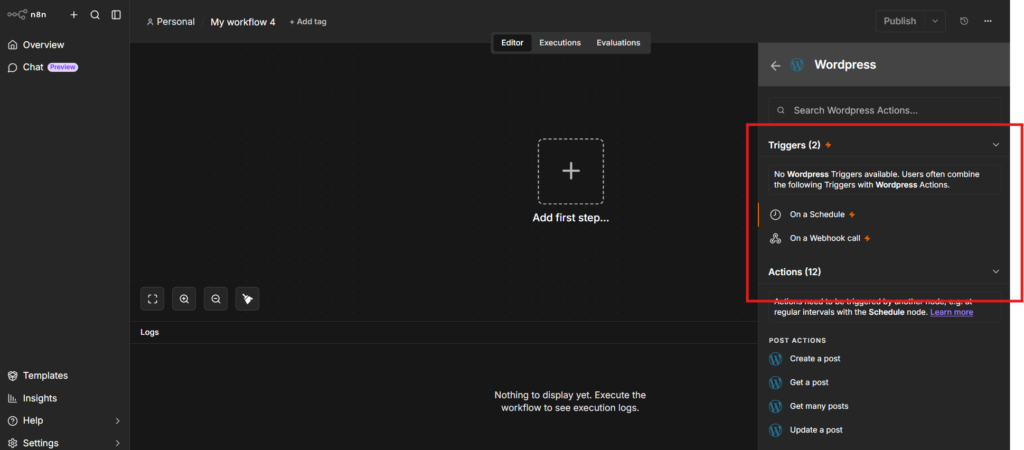
Here is the thing most guides get wrong. n8n’s WordPress node is action-only. It can create posts, update posts, and manage users. It cannot listen for anything.
That trips people up constantly. They add the WordPress node, look for a “new post” trigger, and give up. The fix is knowing which of the three connection methods you need, because only two of them are triggers.
Get that direction straight in your head and the rest is plumbing. Writing to WordPress goes through the REST API. Getting WordPress to talk back goes through a webhook. WooCommerce is a special case that handles its own webhooks for you.
How to Connect n8n to WordPress: Different Methods Covered
There is no single way to connect n8n to WordPress. There are six, they do different jobs, and picking the wrong one is why most people stall on their first workflow. The native node cannot listen for events. Webhooks cannot write to your site. The REST API can do anything but asks more of you.
This page compares all six, tells you which one your use case needs, and points you to the build guide once you have chosen. Two minutes here saves an afternoon of hunting for a trigger that does not exist.
| Method | Direction | Best for | Flexibility | Skill |
|---|---|---|---|---|
| 1. WordPress node (self-hosted) | n8n → WP | Posts, pages, users. The default choice. | ★★☆☆☆ | Low |
| 2. Webhooks | WP → n8n | Form submissions, new posts, comments | ★★★☆☆ | Low to mid |
| 3. WooCommerce Trigger | WP → n8n | Orders, refunds, customers | ★★☆☆☆ | Low |
| 4. HTTP Request to REST API | n8n → WP | Custom post types, plugin endpoints, taxonomies | ★★★★★ | High |
| 5. WP-CLI over SSH | n8n → WP | Bulk operations, maintenance, database work | ★★★★★ | High |
| 6. MCP | AI ↔ WP | Letting Claude or ChatGPT act on your site | ★★★★☆ | Low to mid |
First, work out the direction
Before comparing features, answer one question: is n8n doing something to WordPress, or is WordPress telling n8n that something happened? Almost every stalled n8n project traces back to skipping this.
If n8n acts on your site (creating a post, updating a user, changing a price), you need methods 1, 4 or 5. If your site starts the workflow (a form is submitted, an order lands, a post goes live), you need methods 2 or 3. Most real workflows use one of each, chained together.
1. WordPress node on a self-hosted instance
This is the default method and covers most of what people actually want. It pairs the native WordPress node with a self-hosted n8n instance, which matters more than it sounds, because this is the method your highest-volume workflows will run on.
The other methods fire occasionally. A webhook runs when someone submits a form. An MCP call runs when you ask for it. The WordPress node is different: it is the workhorse you point at scheduled publishing, bulk updates and per-order user creation, so it is the method most exposed to execution billing. There are three reasons to run it on your own instance.
n8n counts one execution per workflow run. Cloud’s entry tier caps you at 2,500 a month (n8n’s published pricing, checked July 2026). A WooCommerce store at 100 orders a day burns 3,000 from a single workflow. Self-hosted Community Edition has no cap at all.
Security plugins like Wordfence and iThemes commonly restrict REST API access, which is the single most frequent cause of 401 and 403 errors on this method. Allowlisting is the fix, and allowlisting needs an address that does not move. Your own pod has one. Shared cloud infrastructure generally does not.
This method authenticates with an application password that has full admin write access to the site. If you run automation for clients, where that credential is stored is a question you will eventually be asked. Self-hosting gives you a straight answer.
The catch has always been setup. On a raw VPS you provision the server, install Node, configure nginx as a reverse proxy, get SSL working, open the right firewall ports, set up a process manager so n8n survives a reboot, and point a domain at it. That is a real afternoon, and you own it forever after.
A managed host collapses all of that. InstaPods runs n8n as a pre-built one-click app. You pick n8n from the marketplace, choose a plan, and InstaPods provisions a real Linux server, installs n8n, configures networking and issues HTTPS. About sixty seconds later you have a live instance with a custom domain and SSH access. The Build plan at $7 a month gives you 2 vCPU and 2 GB RAM, which matches n8n’s own documented minimum and comfortably handles a few dozen active workflows.
Flat pricing is the point. You are not counting runs, so you can put the WordPress node on a schedule without doing arithmetic first. Full walkthrough in our step-by-step deployment guide.
Deploy n8n in about 60 seconds
Unlimited executions on a flat monthly price, with HTTPS, custom domains and SSH handled for you. New accounts get $10 in credit.
Deploy n8n on InstaPodsStep 1: Open the n8n app page and click Deploy
Go to the InstaPods n8n app page and sign up with email or a social login. If you already have an account, you land straight on the plan selector. Nothing is provisioned yet at this point, so you can back out without leaving anything running.
Click Deploy n8n. That is the entire starting point. There is no Docker image to pull, no server to rent first, and no repository to connect.

Step 3: Pick your plan
Pick your plan. The Build plan at $7 a month flat is the sweet spot for a WordPress site: unlimited executions, HTTPS and a custom domain included, and SSH access if you ever want to get under the hood.