Websites built on InstaWP, the AI-native WordPress cloud with managed hosting, are gaining popularity.
You can build instant WordPress sites without all the struggles of installing WordPress setups on servers.
However, this tutorial will help you build complete, ready-to-launch websites by combining the power of InstaWP and the free Cyberchimps Responsive Starter Templates.
Let’s begin.
What are Cyberchimps Starter Templates
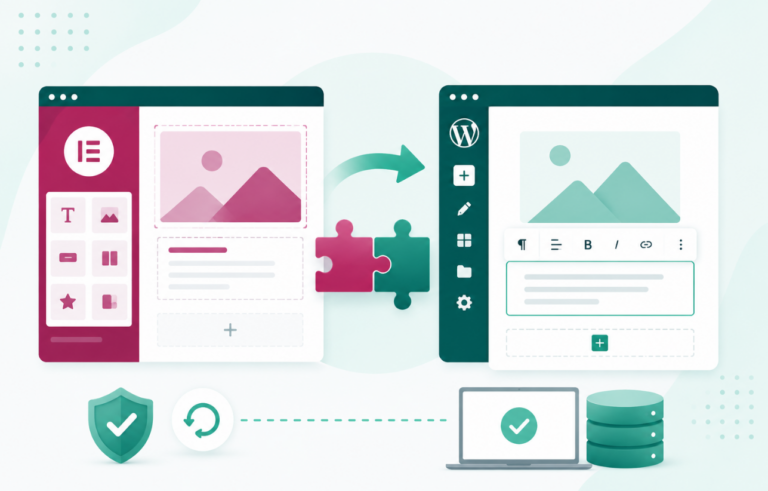
Cyberchimps Responsive Starter Templates are ready-to-use website templates and pages that users can directly import on their WordPress websites. The templates use page builders like Elementor, the Define Adult Gutenberg block editor, and the Cyberchimps Responsive Theme.
Talking about the numbers, there are over 250 templates combined in the Elementor and Gutenberg categories. All you need to do is install the free Responsive Starter Templates plugin from WordPress.org and activate it.
Using Responsive Starter Templates, users can create any WordPress website in three simple steps:
1. Download and Install the Responsive Starter Templates plugin on your WordPress website.
2. Select a template From the Responsive Starter Templates library and click the Import Site button.
3. Edit your content and add business images and links with page builders.
That’s all you need to do and go live with your brand-new website.
Let’s move forward and explore some of the prominent features that the Responsive Starter Templates plugin offers.
Features of Starter Templates:
- 250+ Beautifully designed ready to import WordPress Website Templates
- 500+ Pre-built professional pages such as homepage, about, services, and contact.
- Dedicated sections for different kinds of businesses that look stunning on all devices.
- Easy drag & drop editing with page builders.
- Copyright-free stock images that you can use on your website.
- Automatically installs all necessary plugins.
- All the starter templates are optimized for speed and offer a fast-loading experience.
Creating a Site in InstaWP
Creating a WordPress website from scratch and taking it online is daunting. Many beginners need help with hosting configurations, memory allocation, and pointing their domains to hosting servers.
And that’s where InstaWP comes into the picture. InstaWP is a freemium software tool that helps you create fresh WordPress installations in seconds.
You can use these WordPress installations to create a testing environment for checking the themes and plugins before installing them on your live website.
Without further ado, let’s start building websites with InstaWP.
Step 1: Login to Insta account and go to Dashboard
To create an InstaWP website, you need to create an InstaWP account. You can create an account (adding a card unlocks $25 in credits) from – https://app.instawp.io/onboard?mode=signup
Enter your details or sign up using your Google, Twitter(X), or Facebook login.

Once logged in, you will see multiple options you can explore at your own pace.
As of now, we’ll stick to creating a new WordPress site.
Step 2: Create a Site

Let’s start creating our first site by clicking the +New Site button or Add New Button.
Next, you’ll be prompted with a popup with some options like:
- Build a website from scratch
- From Template
- Store

As of now, click on the “Create Site” button within the popup.
This will create a new website with login details:

Click on the URL, and it will open a new website in the new tab.

Type /wp-admin after the URL to log in as administrator, and enter the username and password to log into your InstaWP WordPress site.
Step 3: Add Responsive Starter Templates Plugin
Once inside the admin dashboard, go to the plugins menu to install the free Responsive Starter Templates Plugin.
Navigate to Plugins > Add New.
Search for Responsive Starter Templates in the search bar.

And you will find the first plugin by Cyberchimps.
Click on the Install Now button and activate the plugin.
Once the Responsive Starter Templates plugin is active, navigate to your dashboard and click the Install & Activate Now button.
Step 4: Import Template, Edit Content and Launch Website
Now that you have activated the plugin from the Responsive Starter Templates library select a template of your choice.

The template library page has filters for selecting between page builders – Elementor and Gutenberg.
After selecting the page builder, you’ll see the templates built using that page builder.
For example, we’ll select the Electrician template from the Elementor page builder category.

In the next step, you will be able to view all the pages from the template. You also have the option to import complete sites or only dedicated pages from your selected sites.

Click on the “Import Site” button to import your starter template.
You will be prompted with a screen that shows the ongoing process. And that’s it, click on the launch site button.

And there you go.

It’s so simple to create a website using the Responsive Starter Templates plugin without spending time, effort, and money in hiring WordPress designers and developers.
Creating Templates in InstaWP
InstaWP offers a prominent feature that helps you save time if you want to create a website and distribute it.
It’s the template feature.
Basically, you need to create a website and mark the entire website as a template.
Once you save the template, you can simply launch the website using this template which comes with all the plugins and themes pre-installed as per your requirements.
Step 1: Select a Site and Save as Template
As seen before, once you have created your first website with InstaWP you can save them as templates.

From within the sites tab, you get the option to save a site as Template.
This will automatically be displayed within the Templates tab.
Step 2: Create a new Template
Another way to create a template is to directly go to the Templates tab and click the “Add new” button.

Select the WordPress website that you want to set as a template.
Click on the Next button.

You need to add the basic details like name, description, and type of Template within the private or shared category.

Click on the Save button to save your changes.
If you have created multiple WordPress websites, you can start saving them as templates.
For example, refer to the screenshot below, which contains three templates in the Shared category.

Besides, there’s also a Private category that is only available for some.
Let’s take a look at the shared templates.
Step 3: Enable Sharing
After saving WordPress websites as templates, you can start sharing templates with your customers, clients, or colleagues.
Click the Edit button next to the saved Template to enable the sharing feature.
You’ll see the toggle button to enable the sharing of templates.

Here, you get many options for adding details to your templates like:
Template Name,
Description,
Instant Template,
Language.

After adding all the details, click on the Save button.
Now, whenever you share the Template with someone, they will see all its basic information, making it easier for them to understand the context.
Besides, the same tab has other options for setting your branding, like logo, email with the subject line, CSS, and other options.
Next, let’s explore.
Step 4: Monetize Template (optional)
InstaWP allows you to monetize your templates.

Click on the dollar sign available next to your saved templates. This will open up a new window where you can set the created templates as Free or Paid.

Select the Paid Ratio option and enter the amount in dollars. Save the details.
From the Sales tab, you can check your sales statistics.
And that’s it; you’ve learned how to use the Responsive Starter Template plugin to create stunning WordPress websites, use them for your business, or sell them as templates to generate some source of income.
Summary
InstaWP is the latest tool in the WordPress community that looks promising.
As an agency owner, consider utilizing Responsive Starter Templates and InstaWP to create instant websites.
If you’re looking to create business WordPress websites for blogging, clients, and companies, there’s no better combination than InstaWP and the free RST plugin.
Share your comments if you found this helpful article.