As you move your business online, The need to accept and process payment becomes more important. Building your website with WordPress offers a great number of options when it comes to selecting a payment gateway to process customers’ transactions.
In this article, You will discover all you need to know about configuring your WordPress payment processor and how to accept payments on WordPress.
What Is a Payment Gateway and How Does It Work?
A payment gateway in WordPress allows your users to be able to subscribe to your services or purchase your products.
Customers can enter their payment information on your website, and the payment gateway processes the transaction and securely pays the fund into your bank account.
They often charge a fee for every transaction that is carried out and this fee varies depending on the WordPress payment processor, you choose.
If you sell products or offer services that require your customers to make through your website. A payment gateway in WordPress is essential because it helps to collect relevant user information and also to achieve safe and secure transactions and also ensure customers are able to pay easily and quickly.
Why is choosing the right payment gateway important?
There are a lot of factors to consider when selecting a payment gateway to accept payment on WordPress. Having the right payment gateway improves customer satisfaction and increases sales.
Some of the factors to consider includes transaction fees, security features, and compatibility with your WordPress.
Some of the most popular payment gateways for accepting payment on WordPress are PayPal, Stripe, and Paystack.
Prerequisites for Accepting Payments in WordPress
There are steps to follow before you can begin to accept payments on WordPress. You will require a payment plugin for WordPress which is also compatible with WooCommerce.
Before you can start accepting payments on WordPress, You will need to install your WooComerce plugin, sign up on your preferred Payment Gateway platform and also install the payment gateway’s plugin.
In this article, I will walk you through the steps of setting up your WordPress site, configuring a payment gateway, and accepting payments on your WordPress Website.
Setting up WordPress
If your WordPress Website is ready, You can skip to the next section.
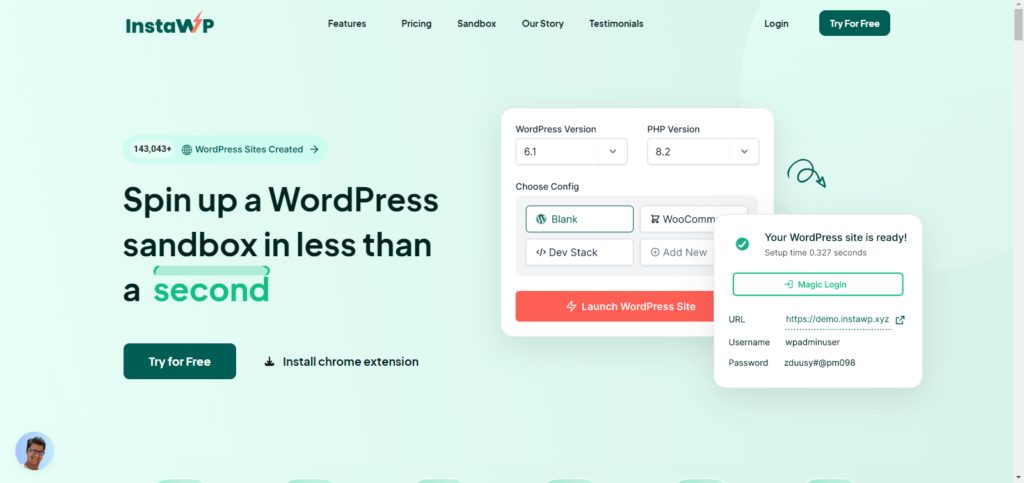
For this tutorial, I will be using Instawp.com as a sandbox in which I can set up my WordPress in an instant.
Step 1: Sign up for a free account at InstaWP.
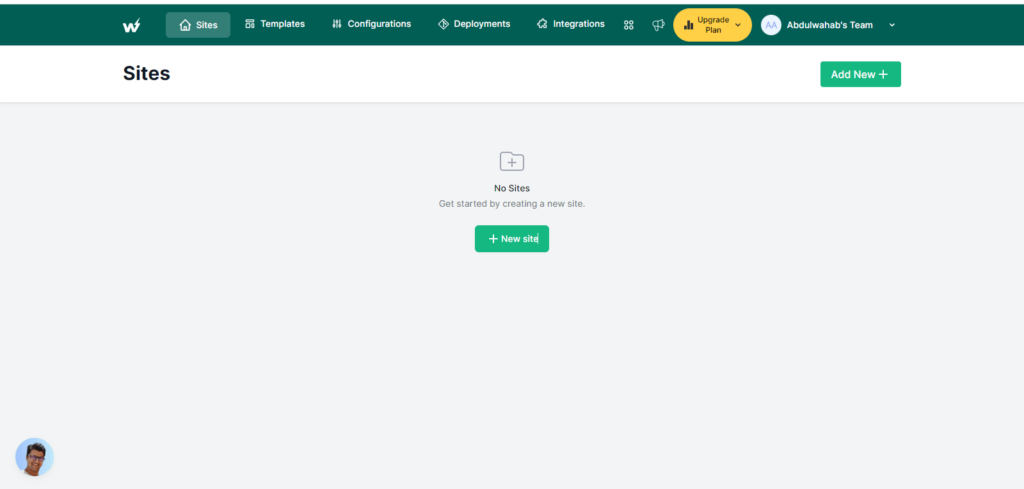
Step 2: After signing up, you will enter the dashboard. Click on “Add New”
Step 3: It is better to launch the latest version of WordPress, but if you want specific versions to test, you can select any older version of WordPress. By default, the stable version of WordPress and PHP are pre-selected in the InstaWP dashboard.
The option of choosing a temporary or reserved site will be presented to you. Although you can subscribe to a reserved site at $11.67/month billed annually or $14/month billed monthly, I will use the temporary site for this guide. Find out more here.
Then click “Create Site” once you have decided which option you prefer, and you can start using your website in no time.
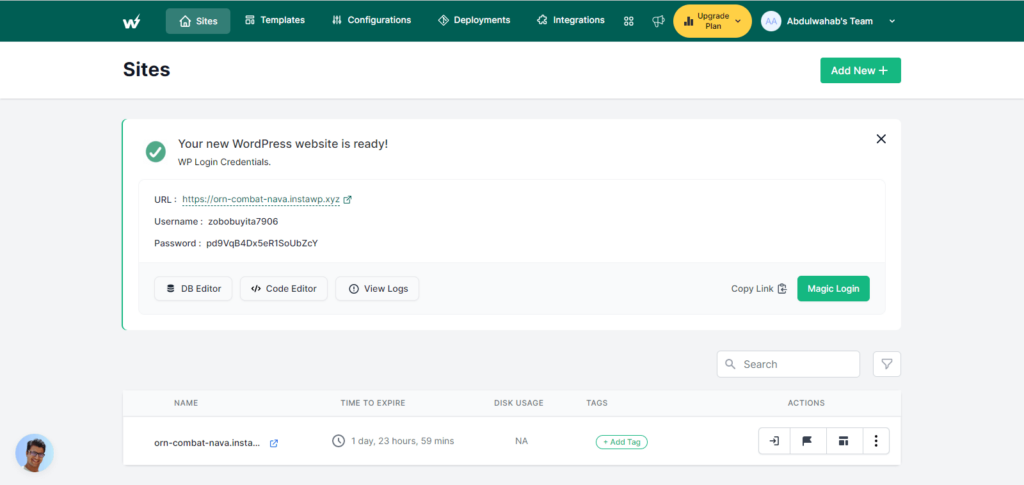
Step 4: Log in to your WordPress site using the magic login button or the provided login details
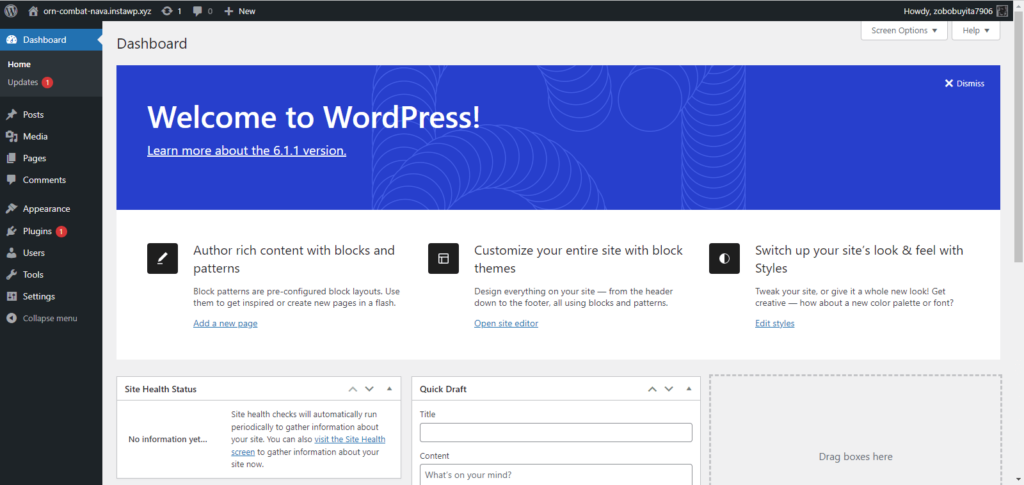
Set up a Payment Gateway
Once you have completed setting up your WordPress site. You will then have to install your e-commerce plugin and the plugin provided by your payment gateway or one that is compatible
Step 1: Install a Payment Gateway Plugin
Adding a payment gateway to your WordPress website will require you to install a plugin to integrate your preferred payment gateway with it.
WooCommerce is the most popular payment gateway plugin in WordPress that turns your website into an eCommerce store. WooCommerce, by default, supports Stripe as a Payment Gateway.
If you wish to use Stripe to accept payments via credit card and debit card, You need to configure WooCommerce alone.
You can add a plugin by hovering your mouse over “plugins” on your WordPress dashboard sidebar and clicking “Add new.”
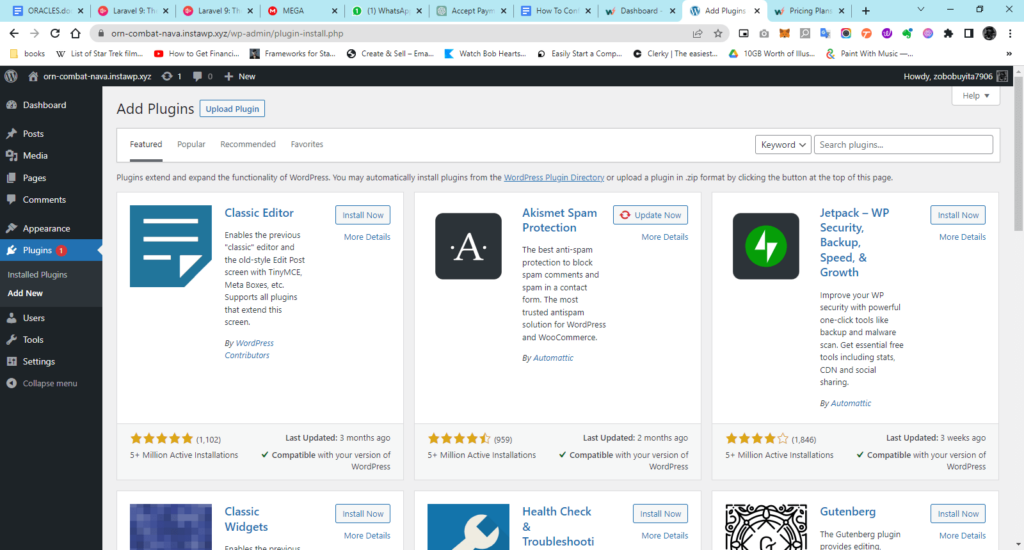
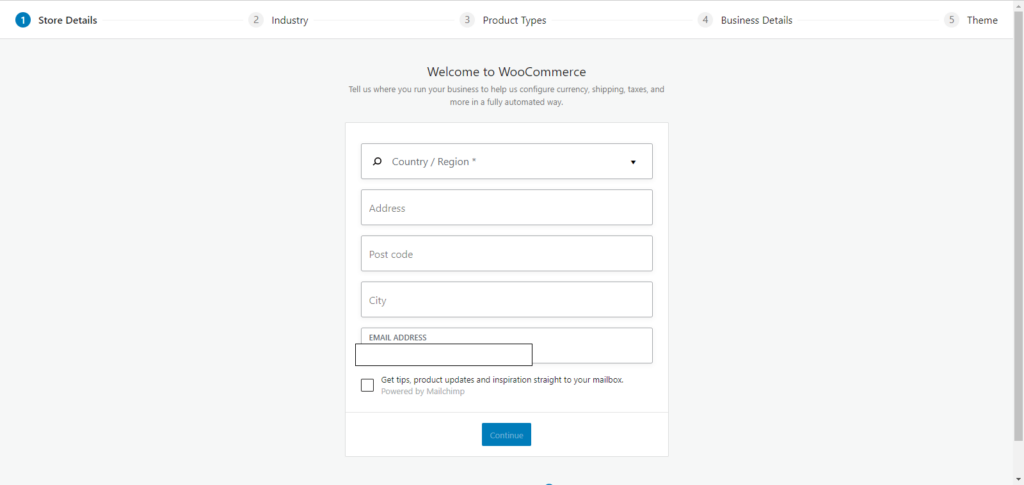
There are a couple of different ways you can install WooCommerce, such as searching for it and uploading the zip file. Once you have installed the WooComerce plugin, you will be redirected to the Setup Wizard, where you can configure the input forms based on your needs.
Step 2: Set Up Your Payment Gateway Account
After you have chosen your preferred payment gateway, you will need to set up an account with them. Typically, you will need to provide some basic information about your business and then set up your payment processing details (if you haven’t already done so). Once your account is set up, you will receive a set of credentials, such as an API key, that you will need to enter into your payment gateway plugin in WordPress.
Step 3: Install Your Payment Gateway
As soon as you have set up your account, you will need to install your payment gateway plugin in WordPress to proceed. As I will be using Paystack for my payment processing, I have installed the Paystack WooCommerce Gateway for my website.
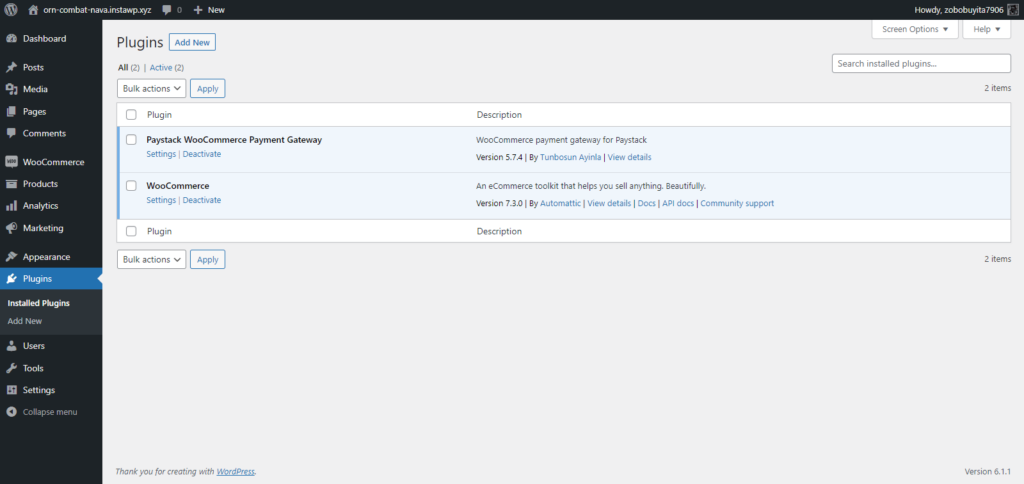
Step 4: Configure Your Payment Gateway Settings
You will be required to enter your payment gateway credentials and choose the settings that best suit the needs of your business. The currency you want to accept payments in or how you want them to be processed are examples of what you will define in your settings.
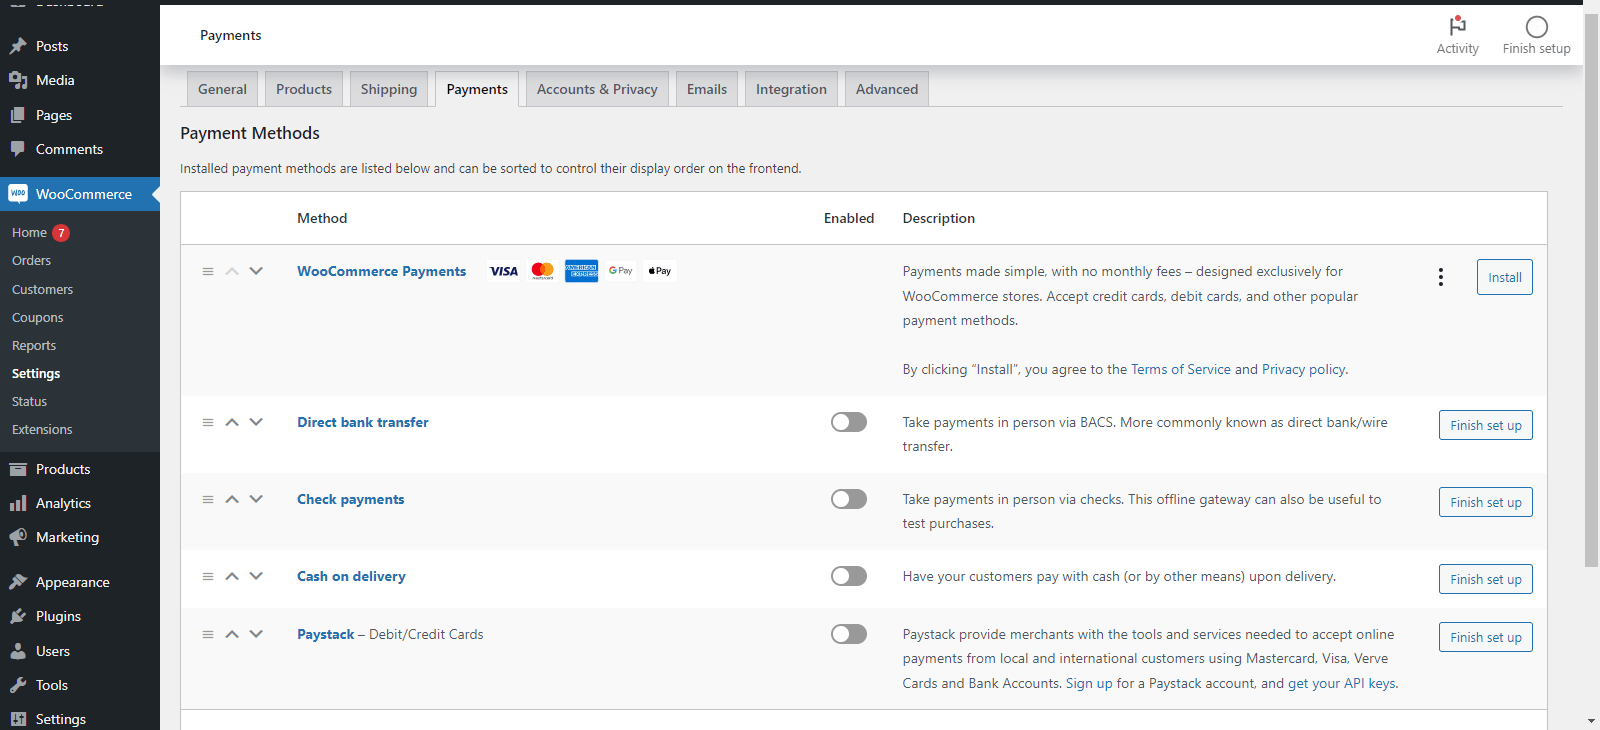
- Click on WooCommerce from the Left menu and Select Settings
- Select the Payments Tab

- Check the box next to Paystack
- Click on Finish set up
- Complete the form and ensure you include the keys attainable from your Paystack account
- Ensure you uncheck Test Mode if you are ready to go live
- Save all changes
Conclusion
With the help of Instawp, setting up a WordPress e-commerce website has become easier than ever. With this guide, you can set up a WordPress website ready for payment processing within minutes. You can install a brand-new theme, design the interface according to your liking, upload your products, and start making sales and accepting payments on WordPress.
